Help Guide
Setup Account
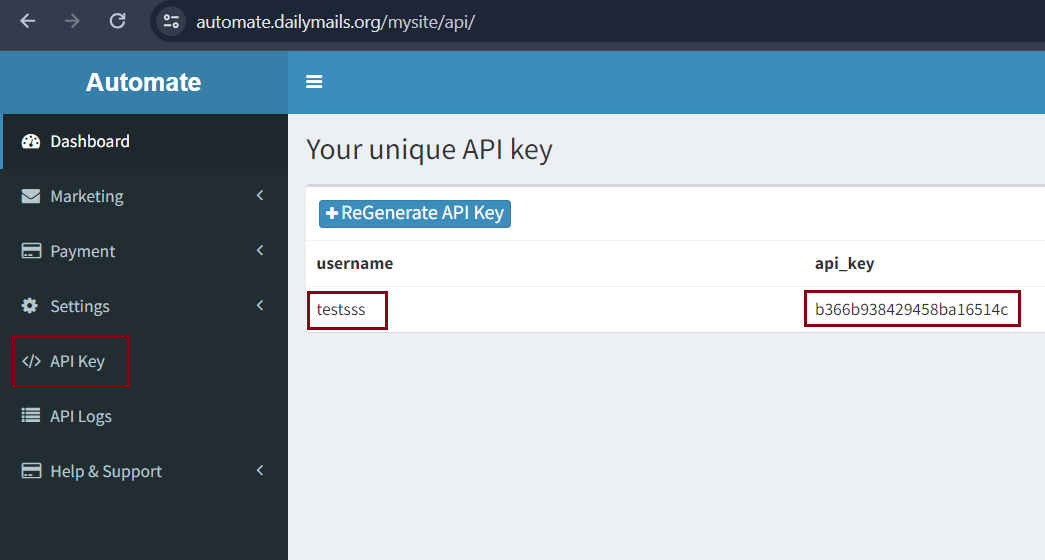
Generate API Key
Goto API Key
Now Use newly generated username and api_key in rest api
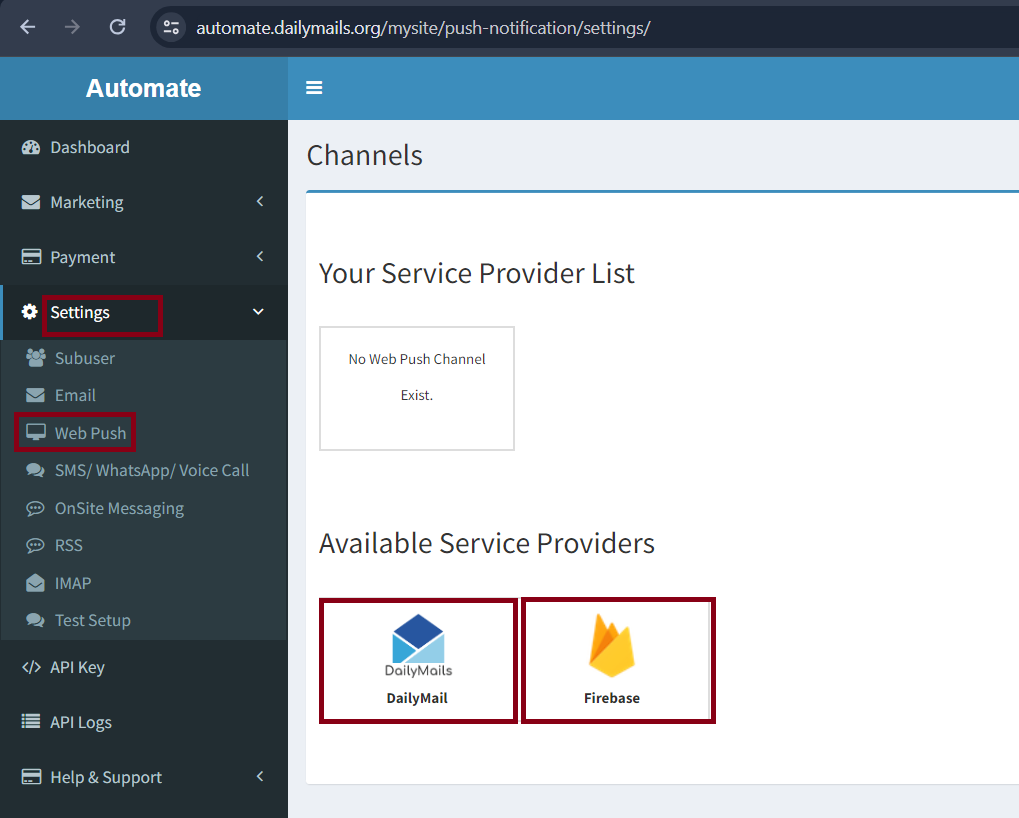
Setup WebPush Notifications
Prerequisite
Goto Settings → Web Push → Select from Available Service Provider
Fill All Details
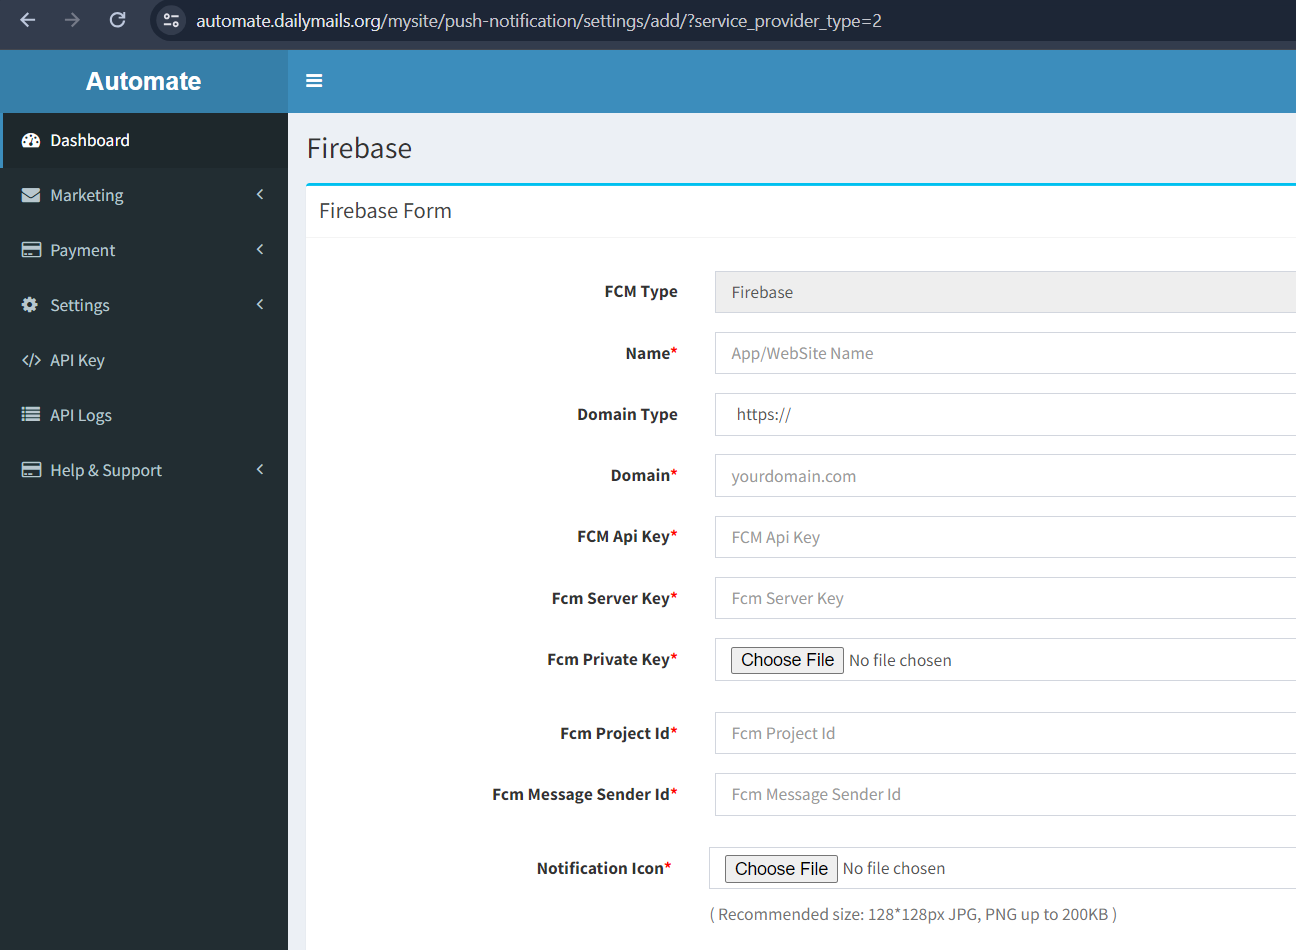
Click on Submit Button
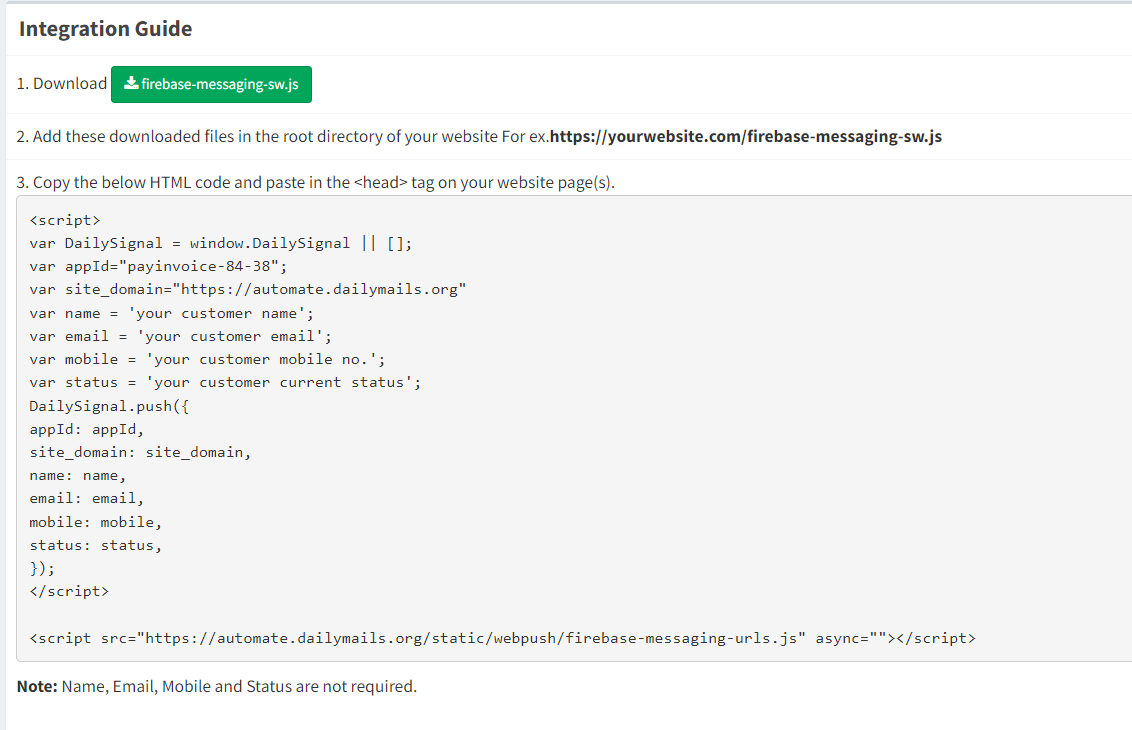
Integration
Goto Settings → Web Push → Select from Your Service Provider
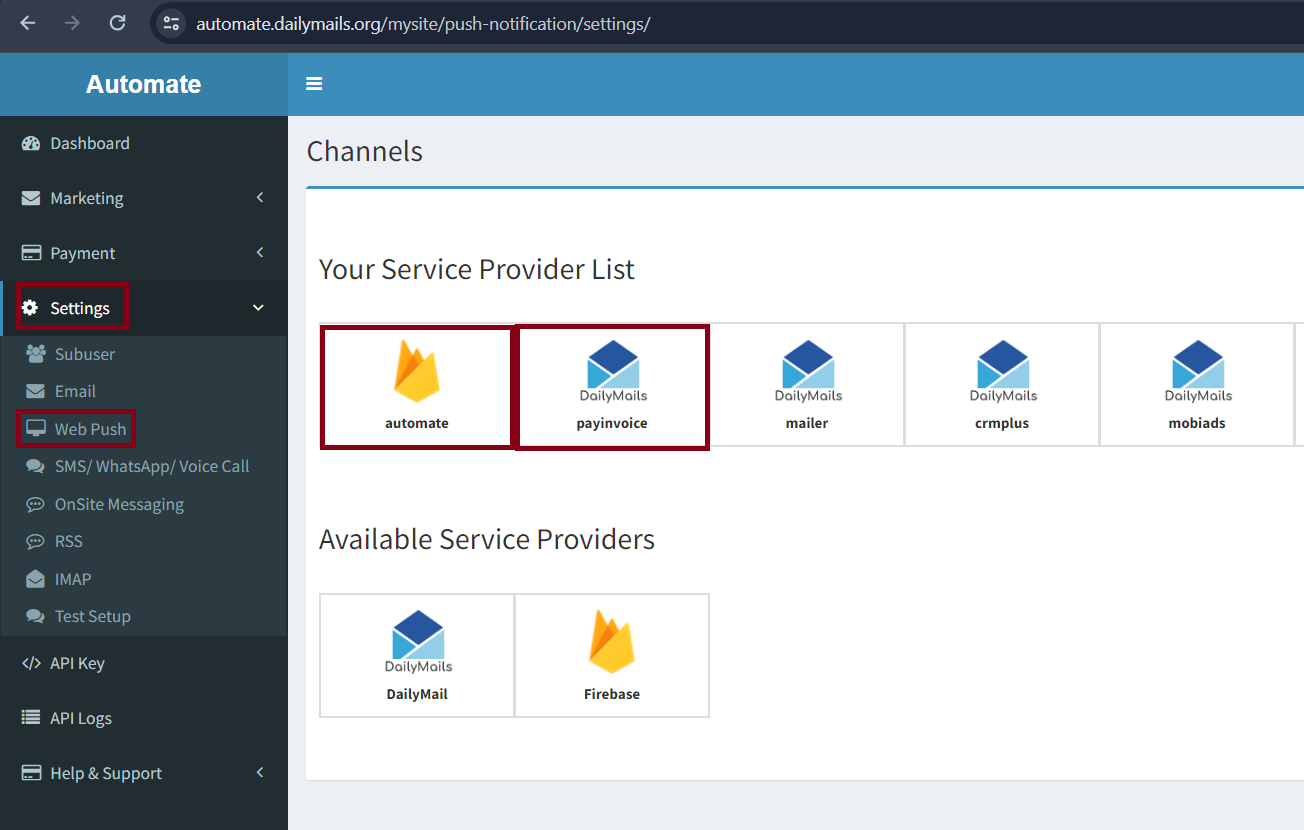
Follow integration steps to integrate your website
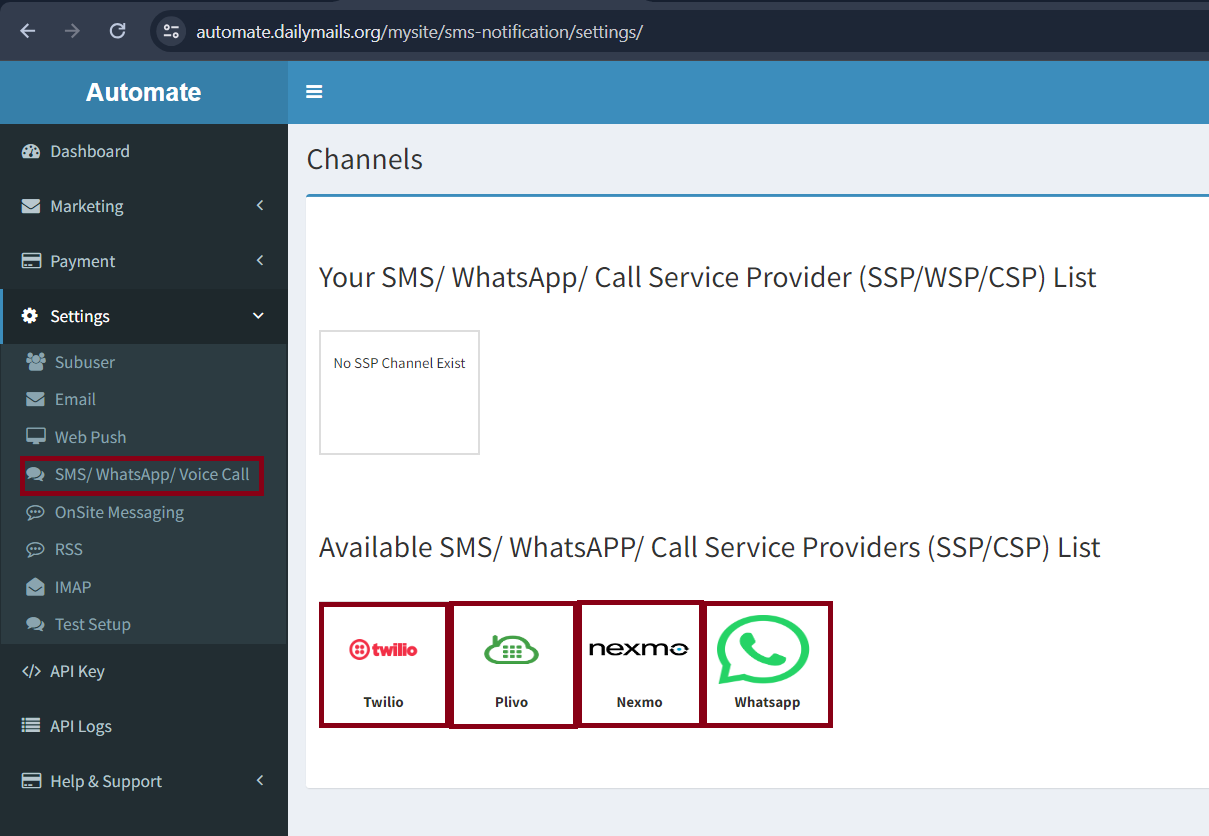
Setup SMS/ WhatsApp/ Voice Call Notifications
Goto Settings → SMS/ WhatsApp/ Voice Call → Select from Available Service Provider
Fill All Details
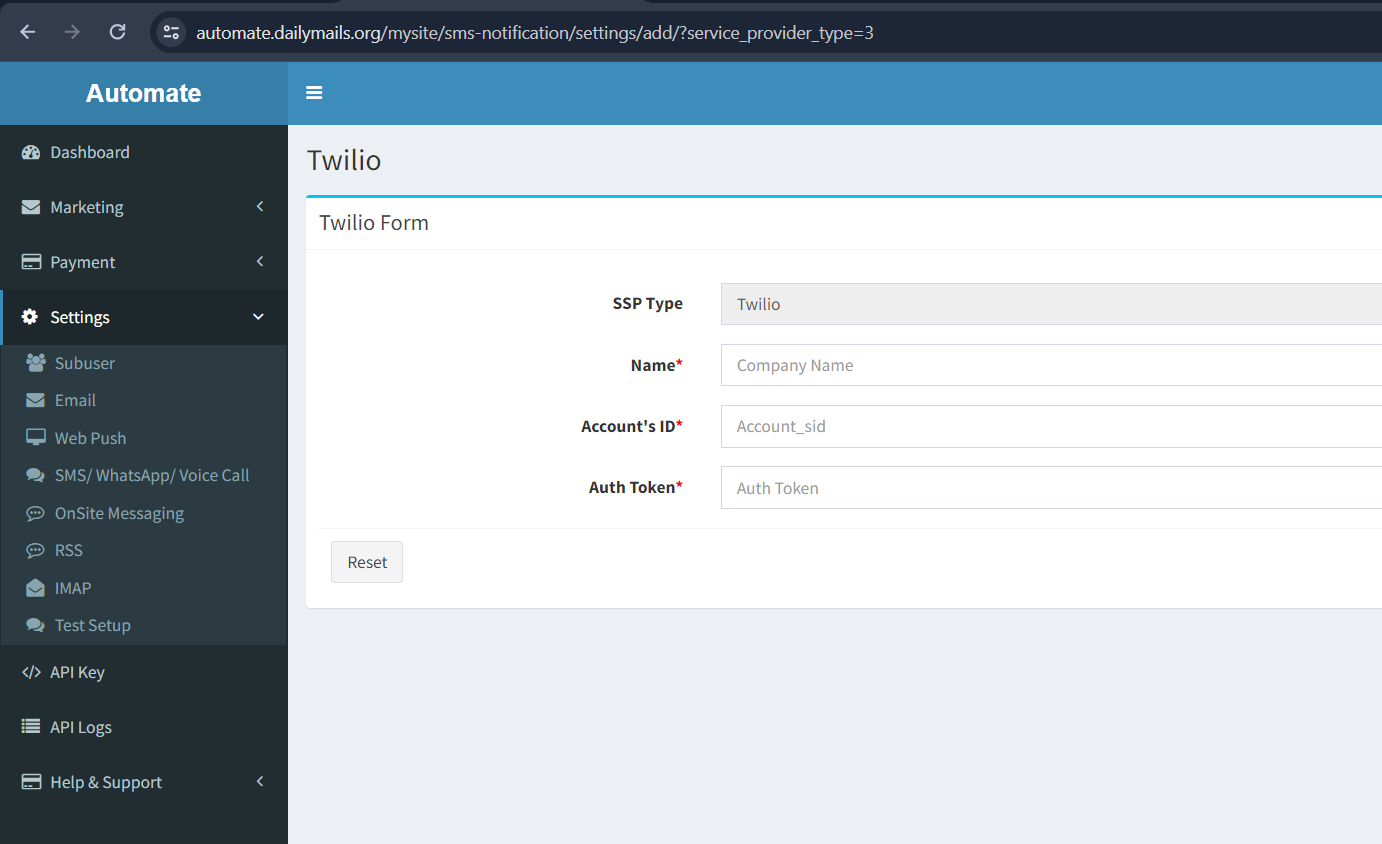
Click on Submit Button
Add Sender
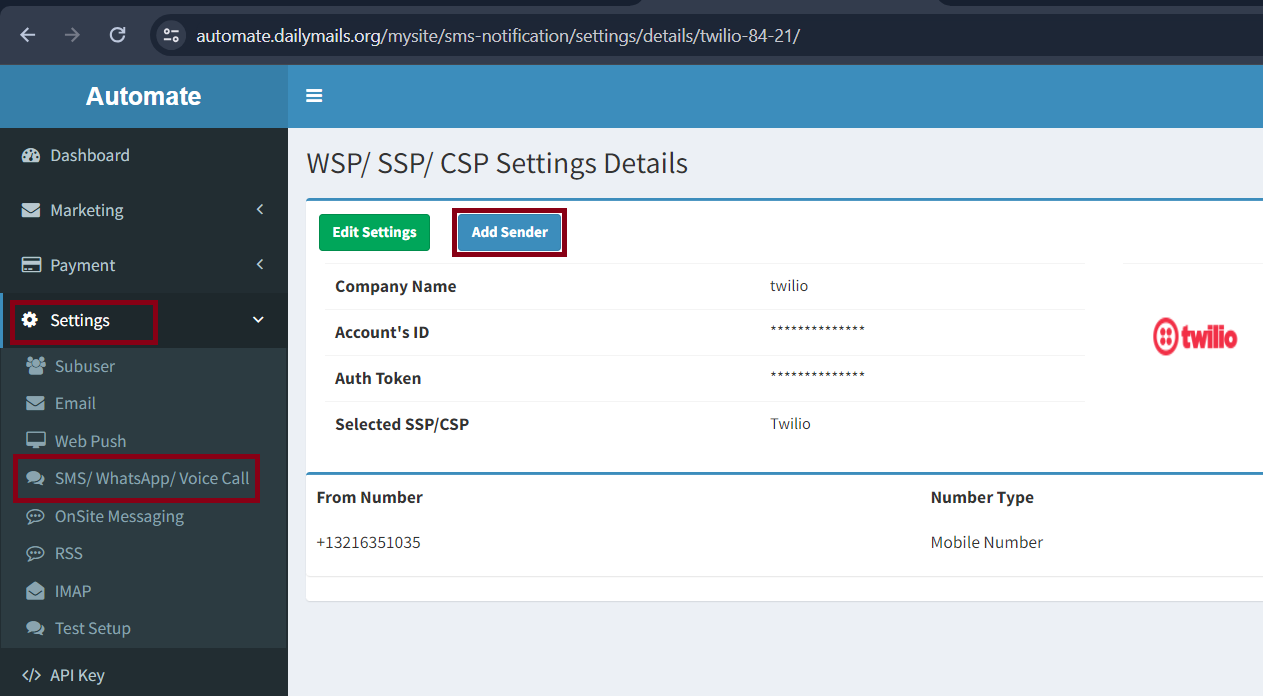
Goto Settings → SMS/ WhatsApp/ Voice Call → Select from Your Service Provider
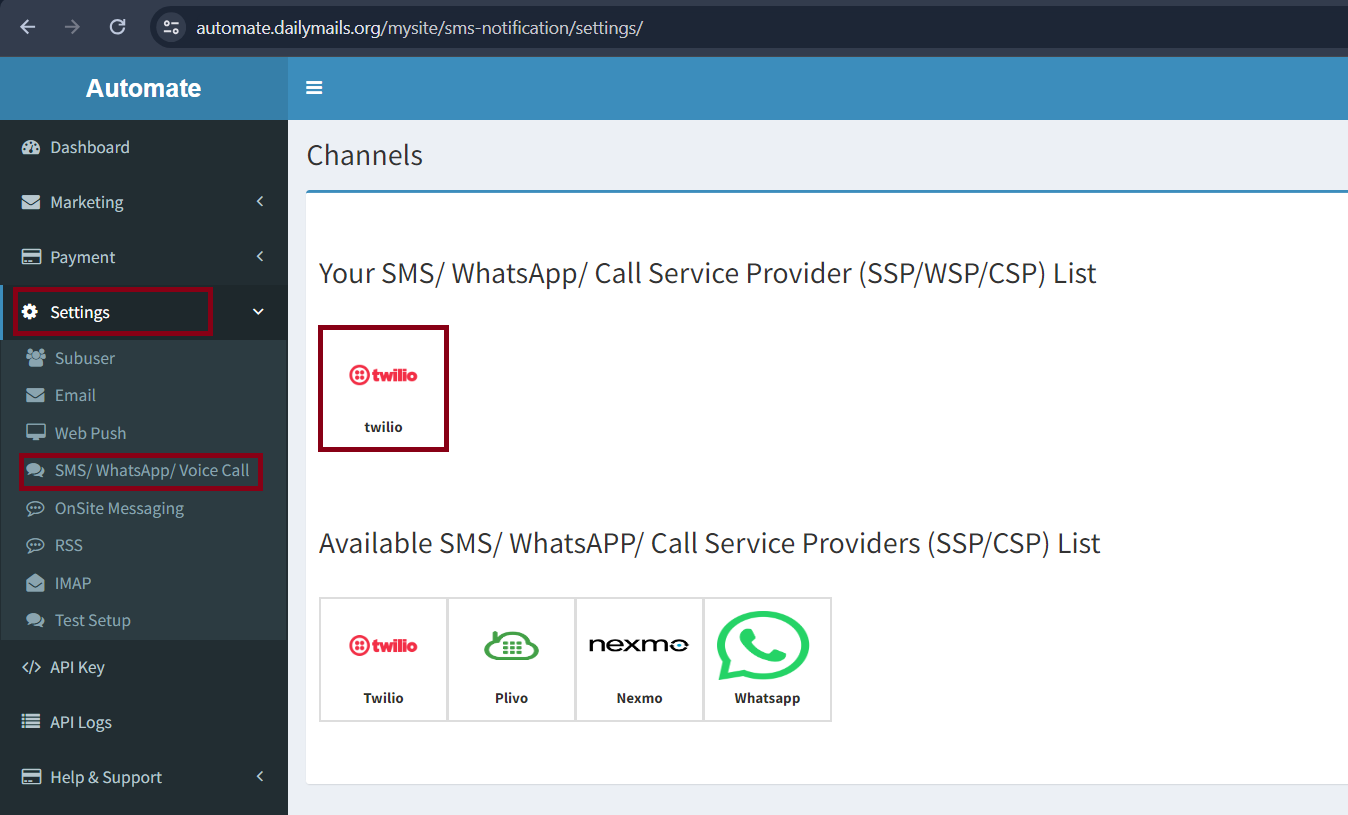
Click on Add Sender
Fill details
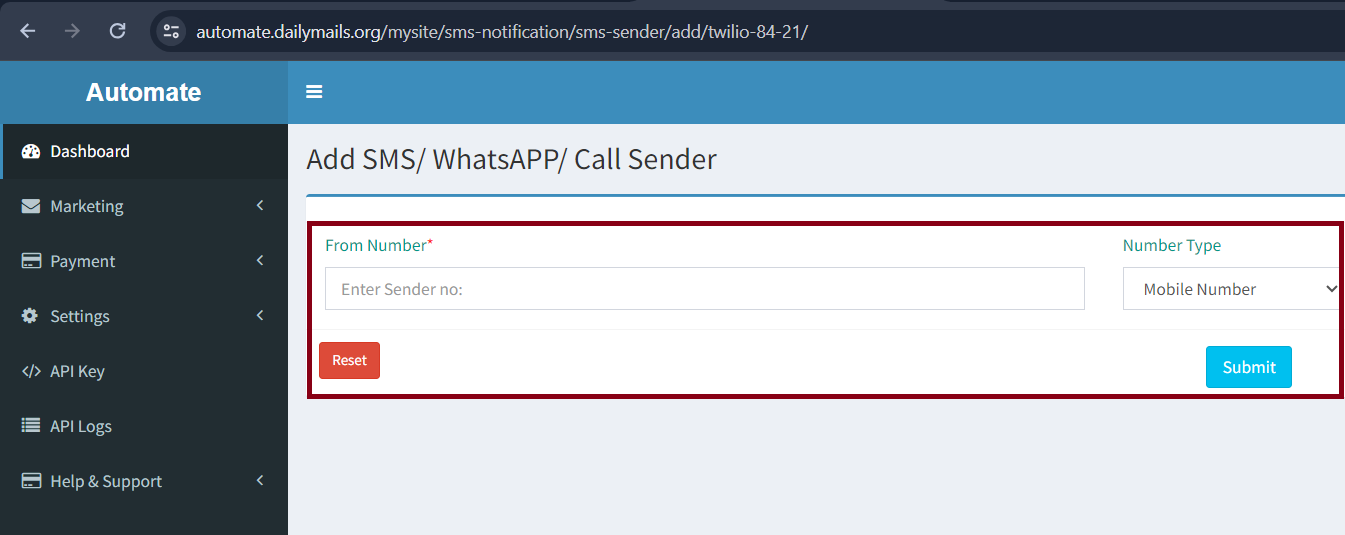
Click on Submit Button
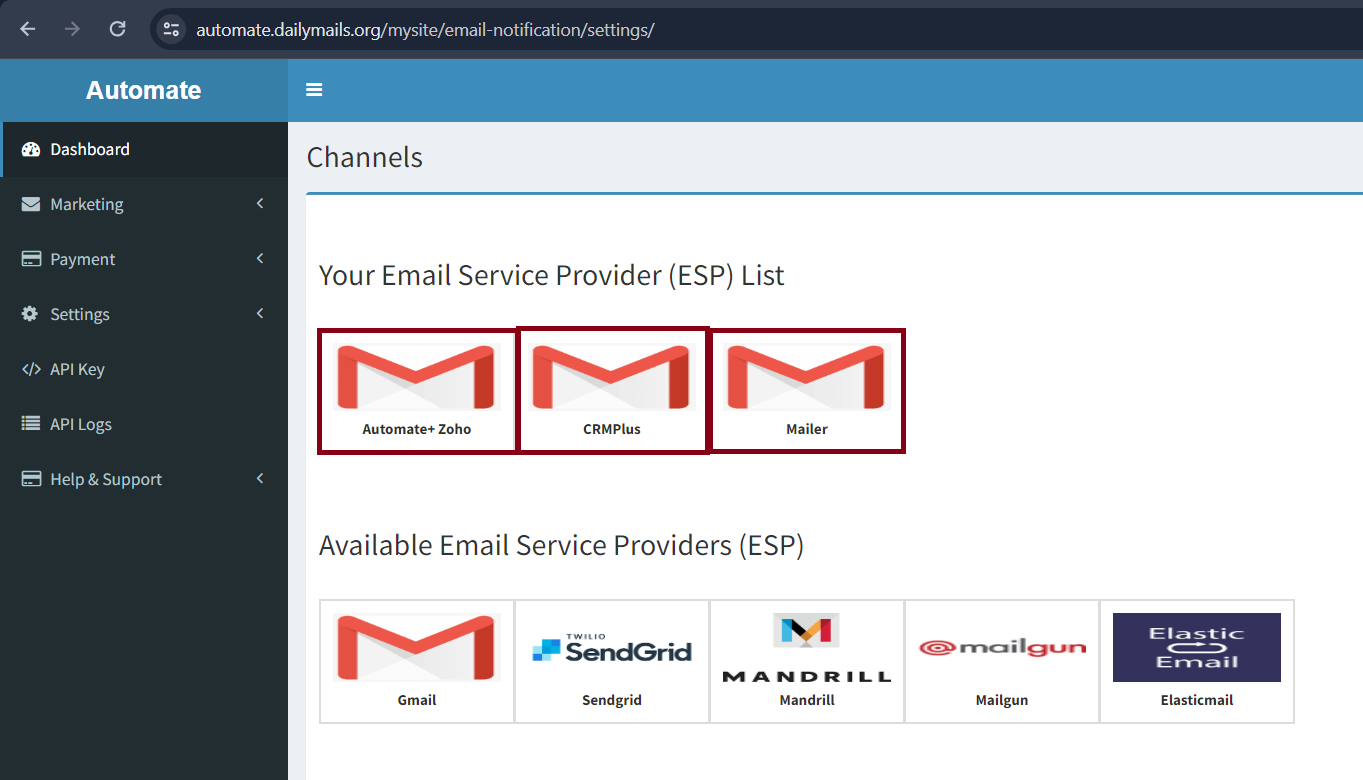
Setup Email Notifications
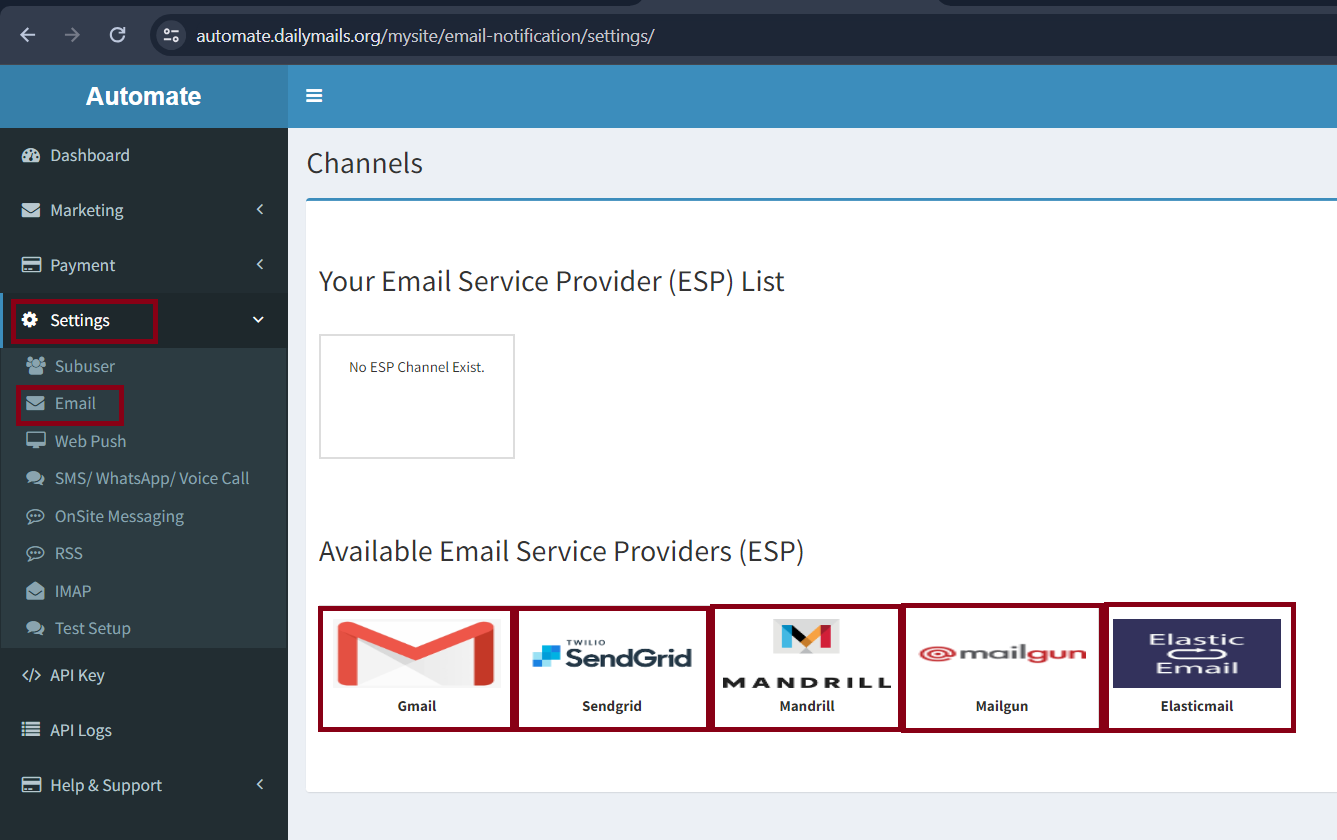
Goto Settings → Email → Select from Available Service Provider
Fill All Details
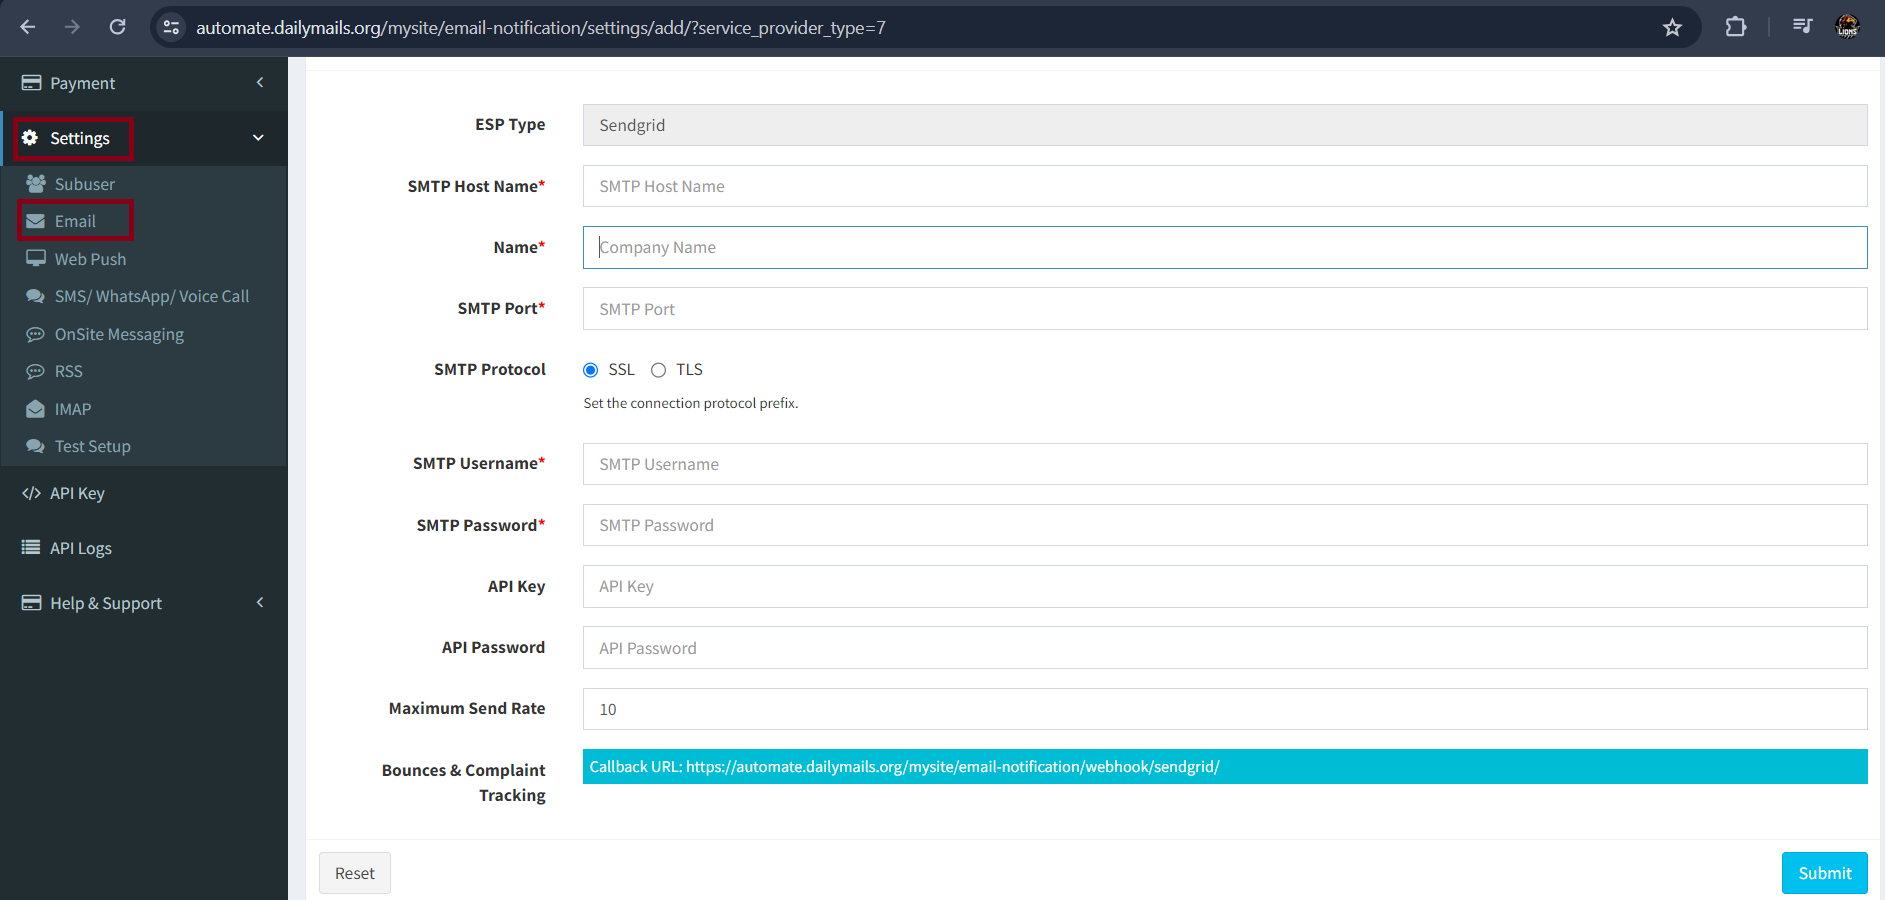
Click on Submit Button
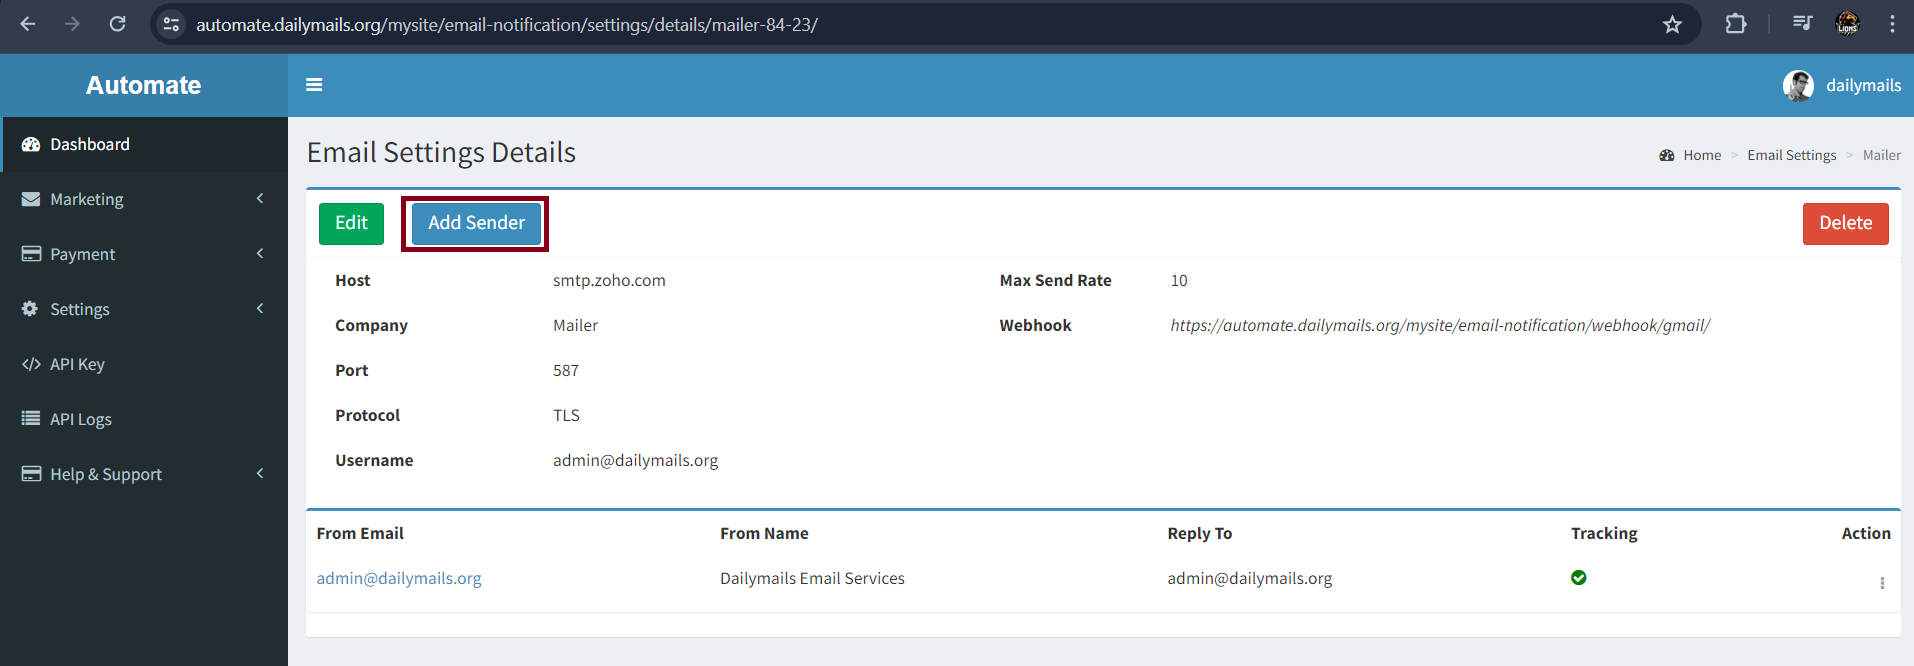
Add Sender
Goto Settings → Email → Your Selected Service Provider
Click on Add Sender
Fill details
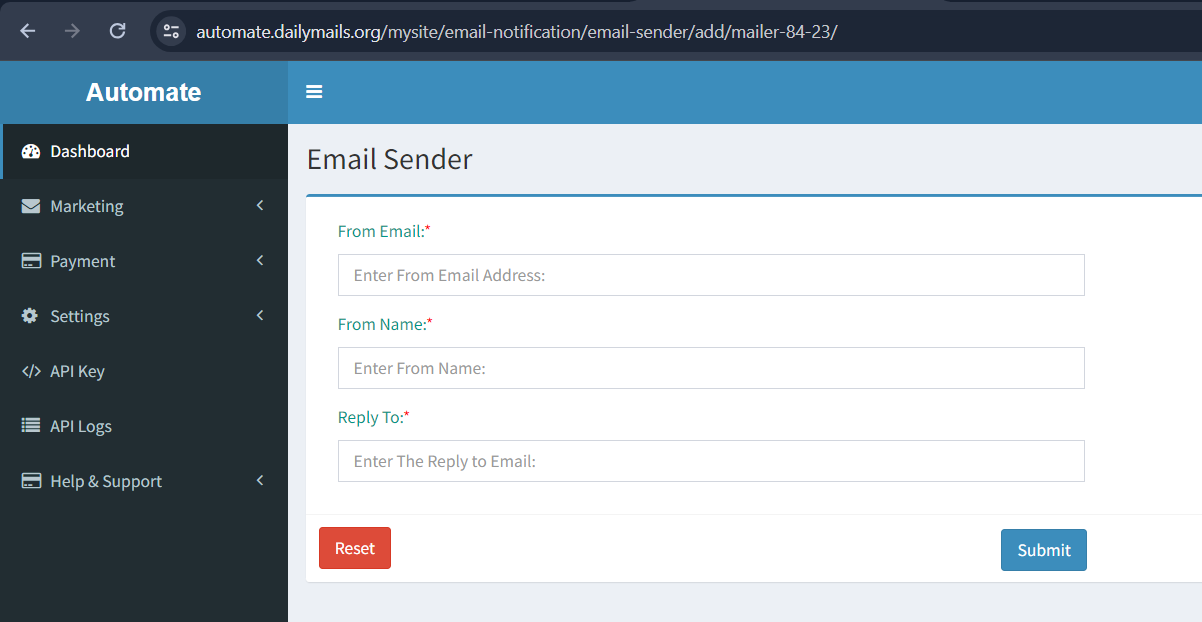
Click on Submit Button
Setup RSS To Campaign
Goto Settings → RSS
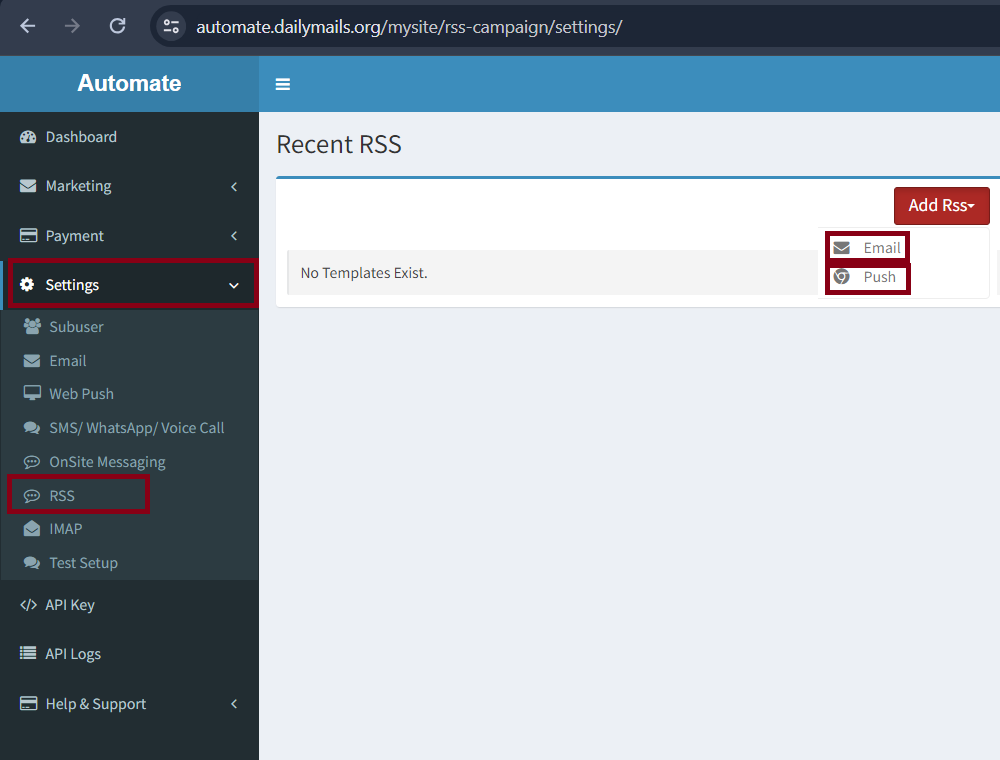
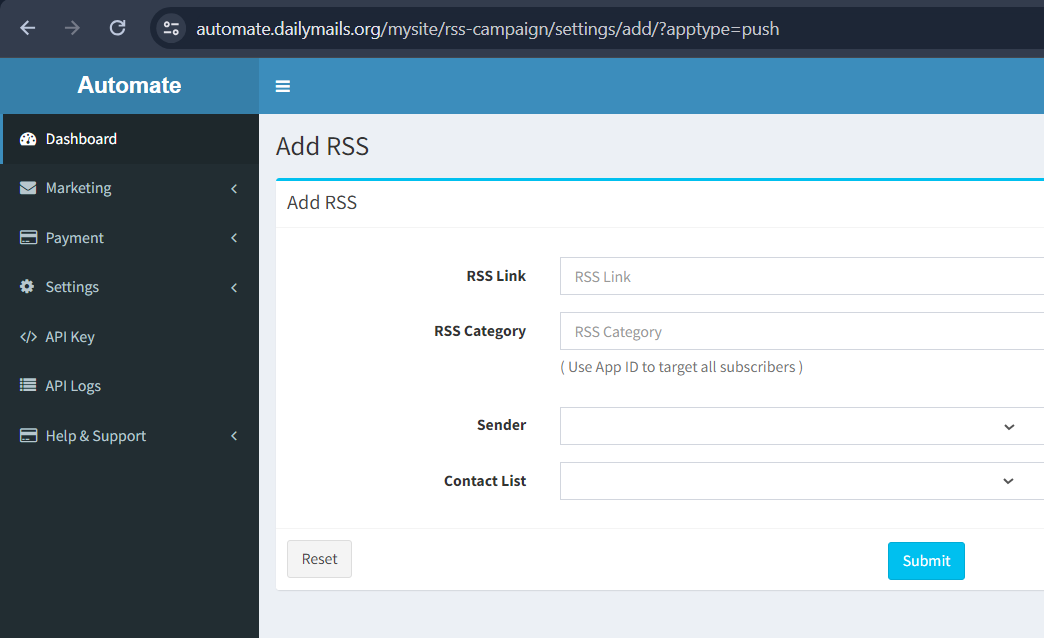
Fill the form and click submit button
Setup OnSite Messaging
Goto Settings → OnSite Messaging
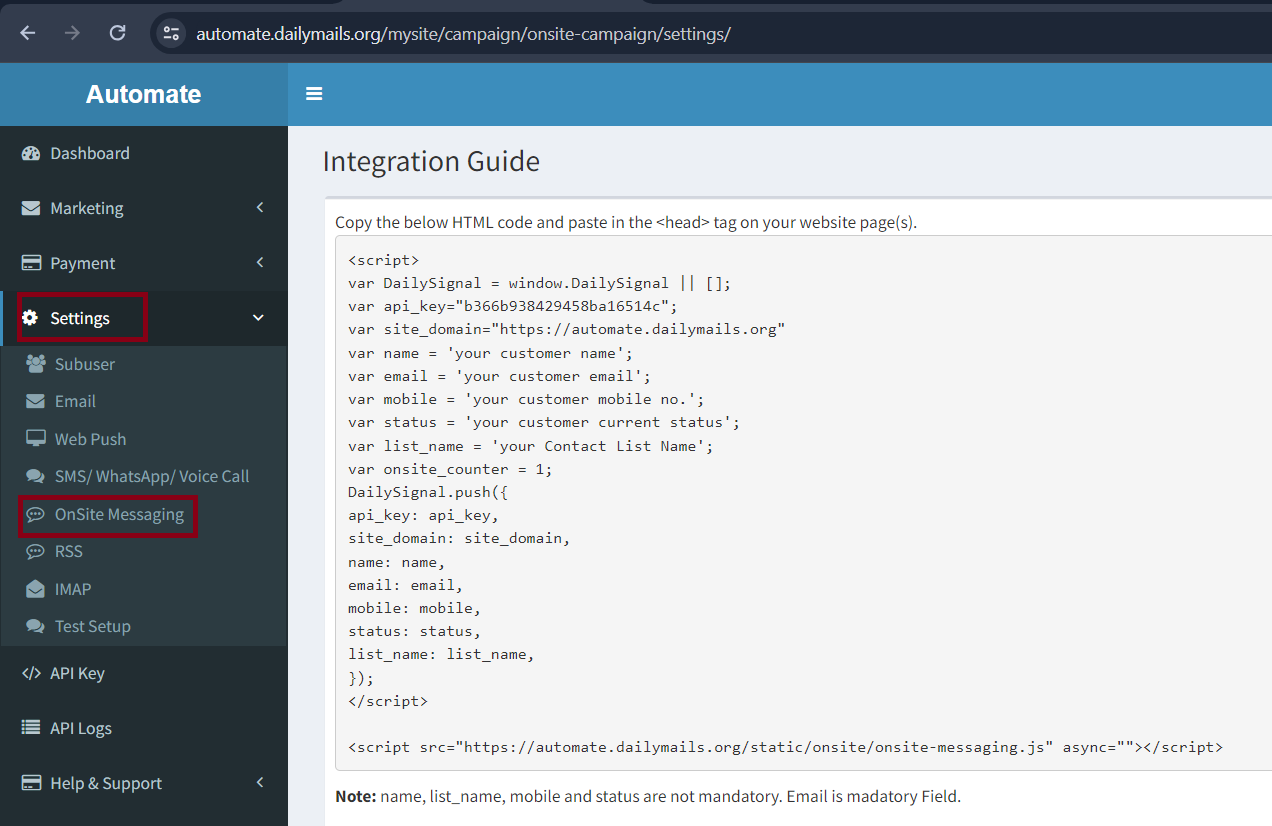
Follow Integration Instructions
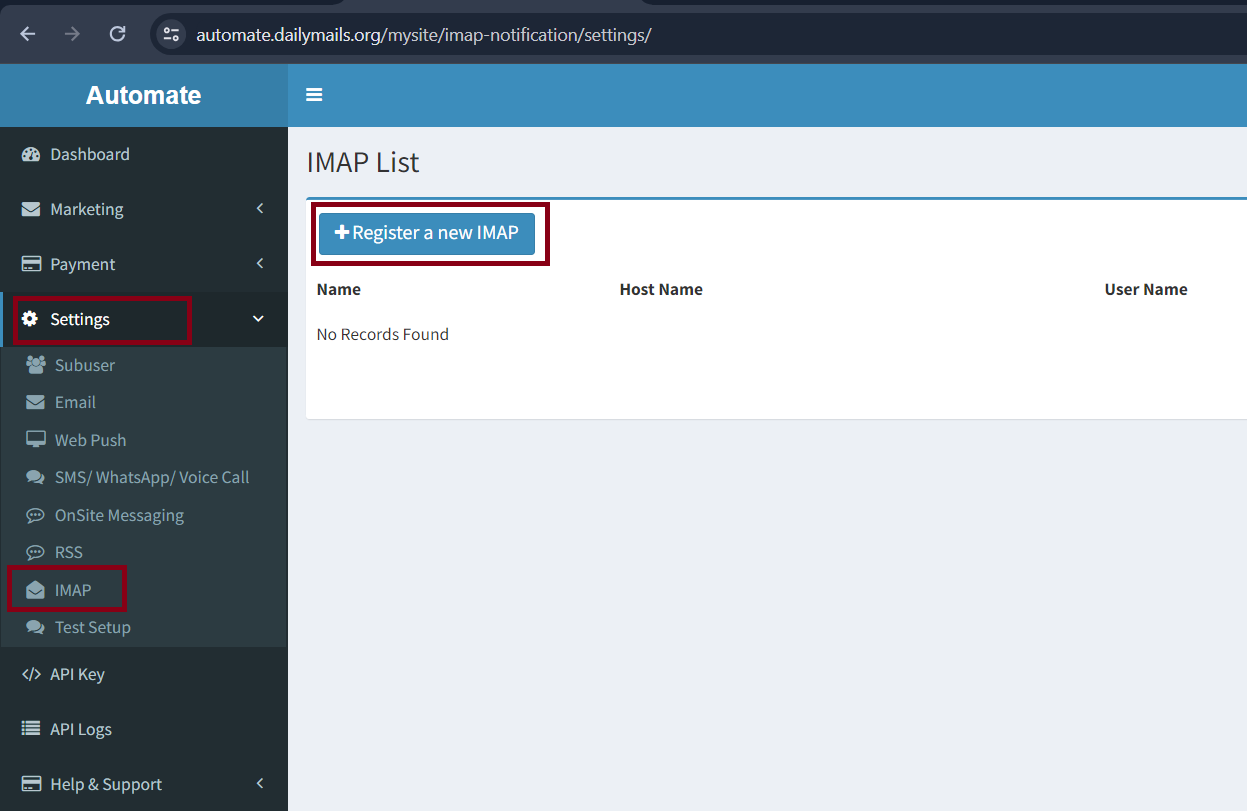
Setup IMAP
Goto Settings → IMAP
Click on Register a new IMAP
Fill details
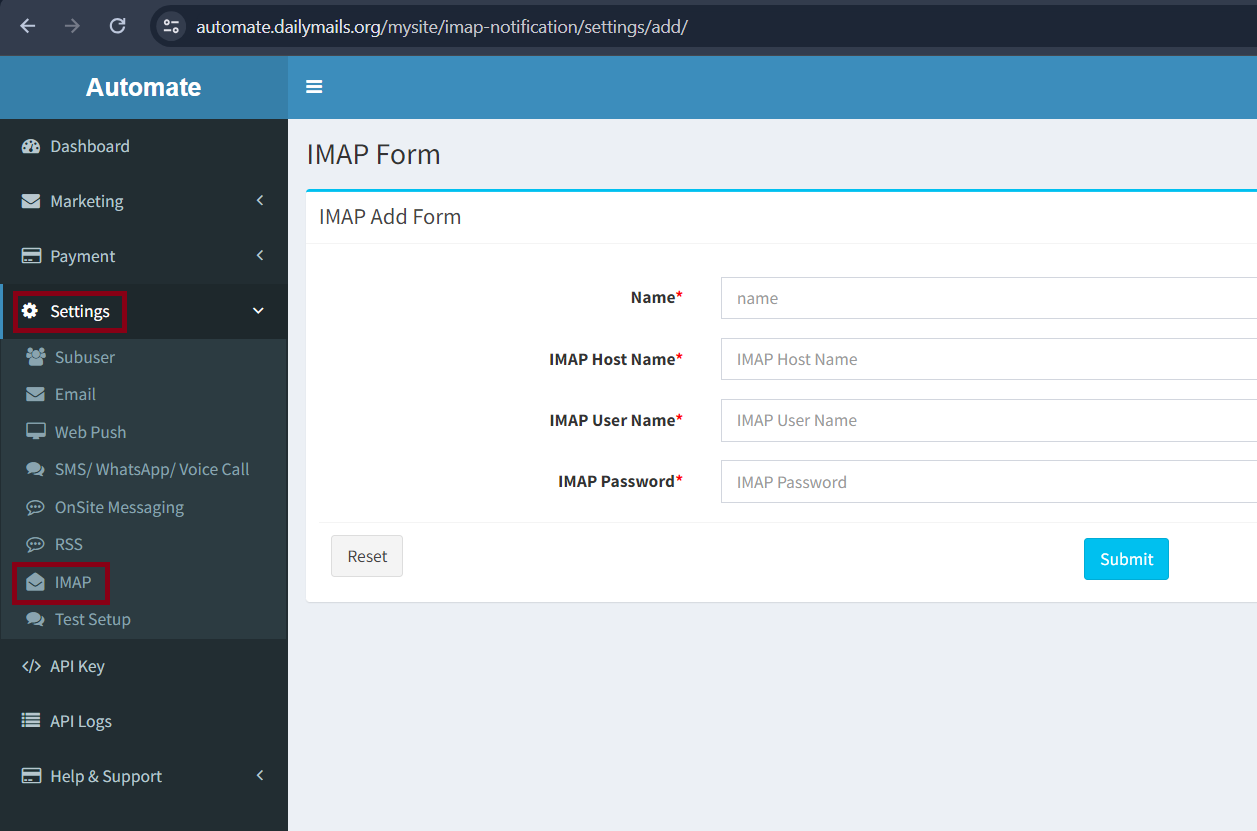
Click on Submit Button
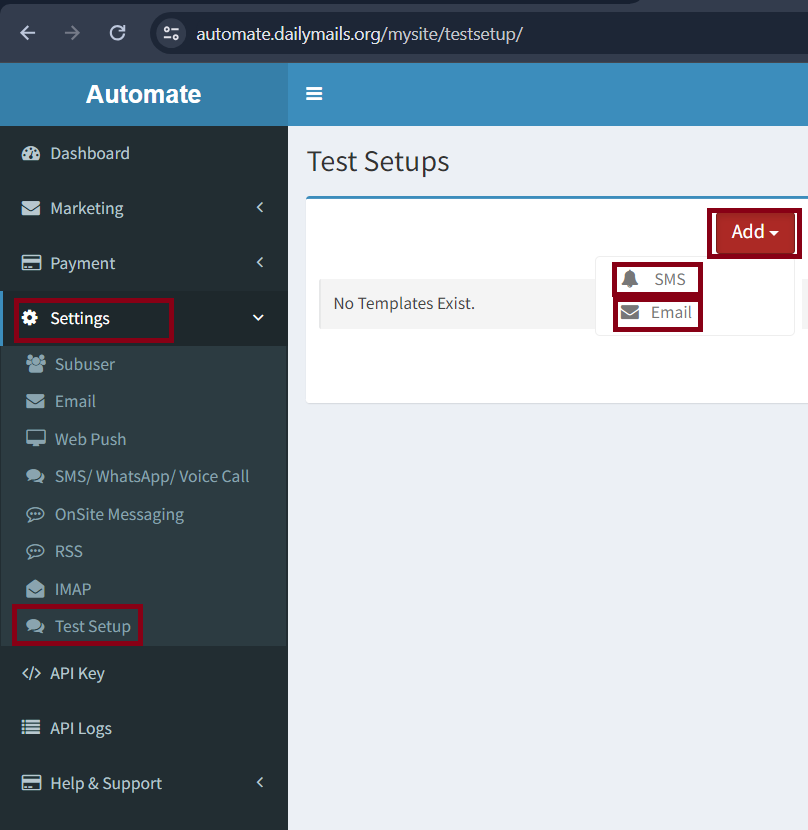
Test SetUP
Goto Settings → Test Setup
Click on Add SMS/Email
Fill details
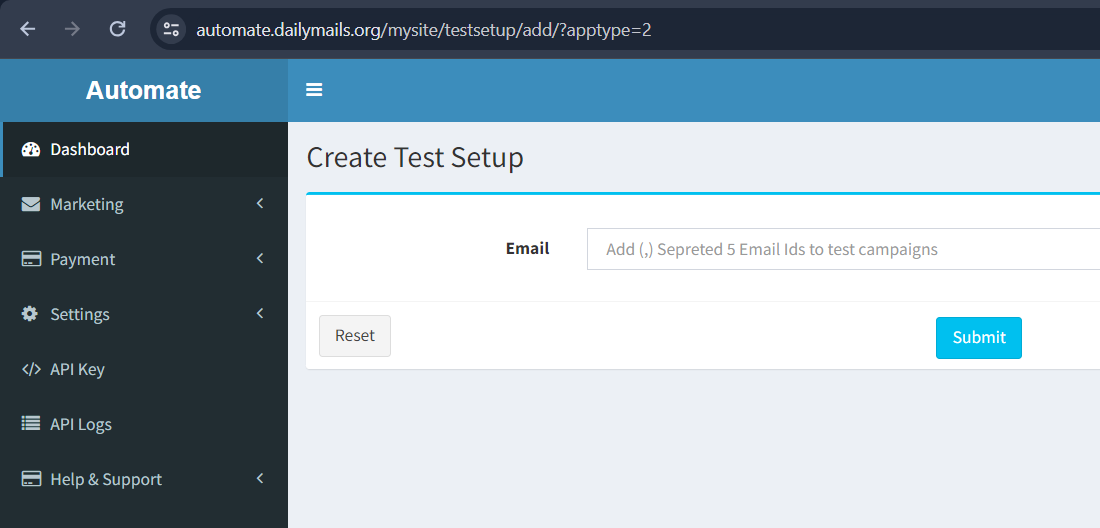
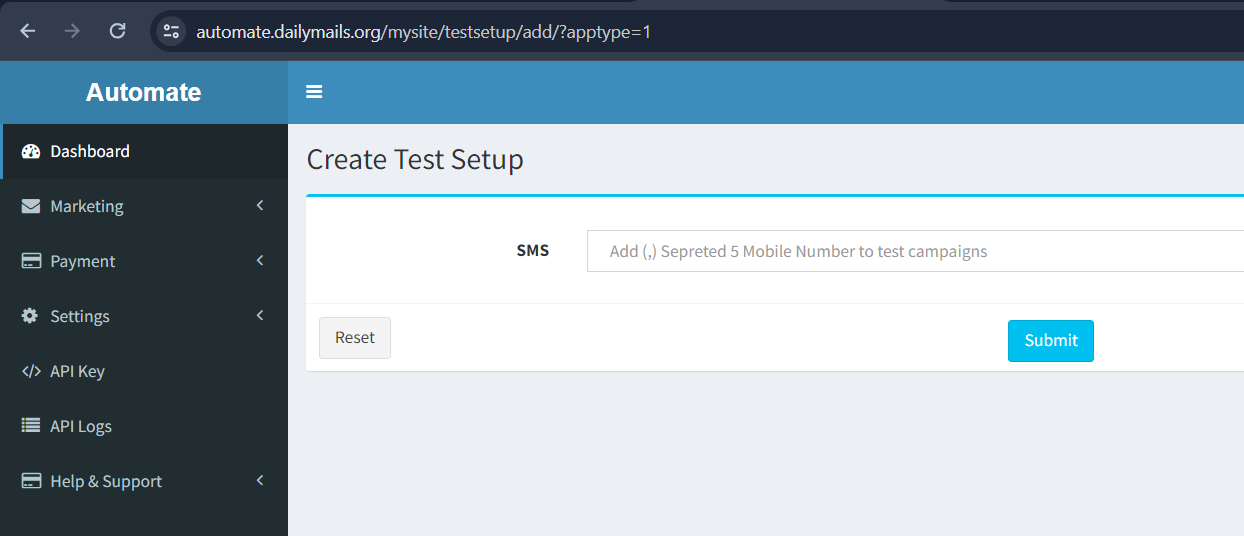
Click on Submit Button
Contacts
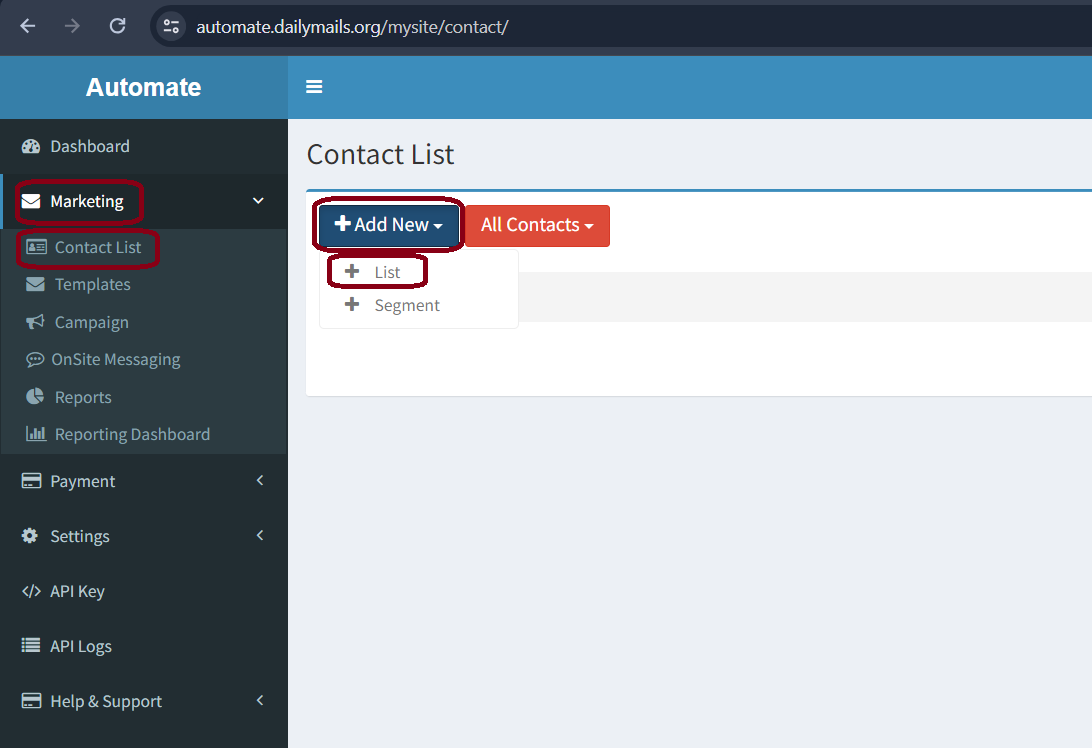
Import Contacts
Goto Marketing → Contact List → Add new → List
Click on Download Sample File
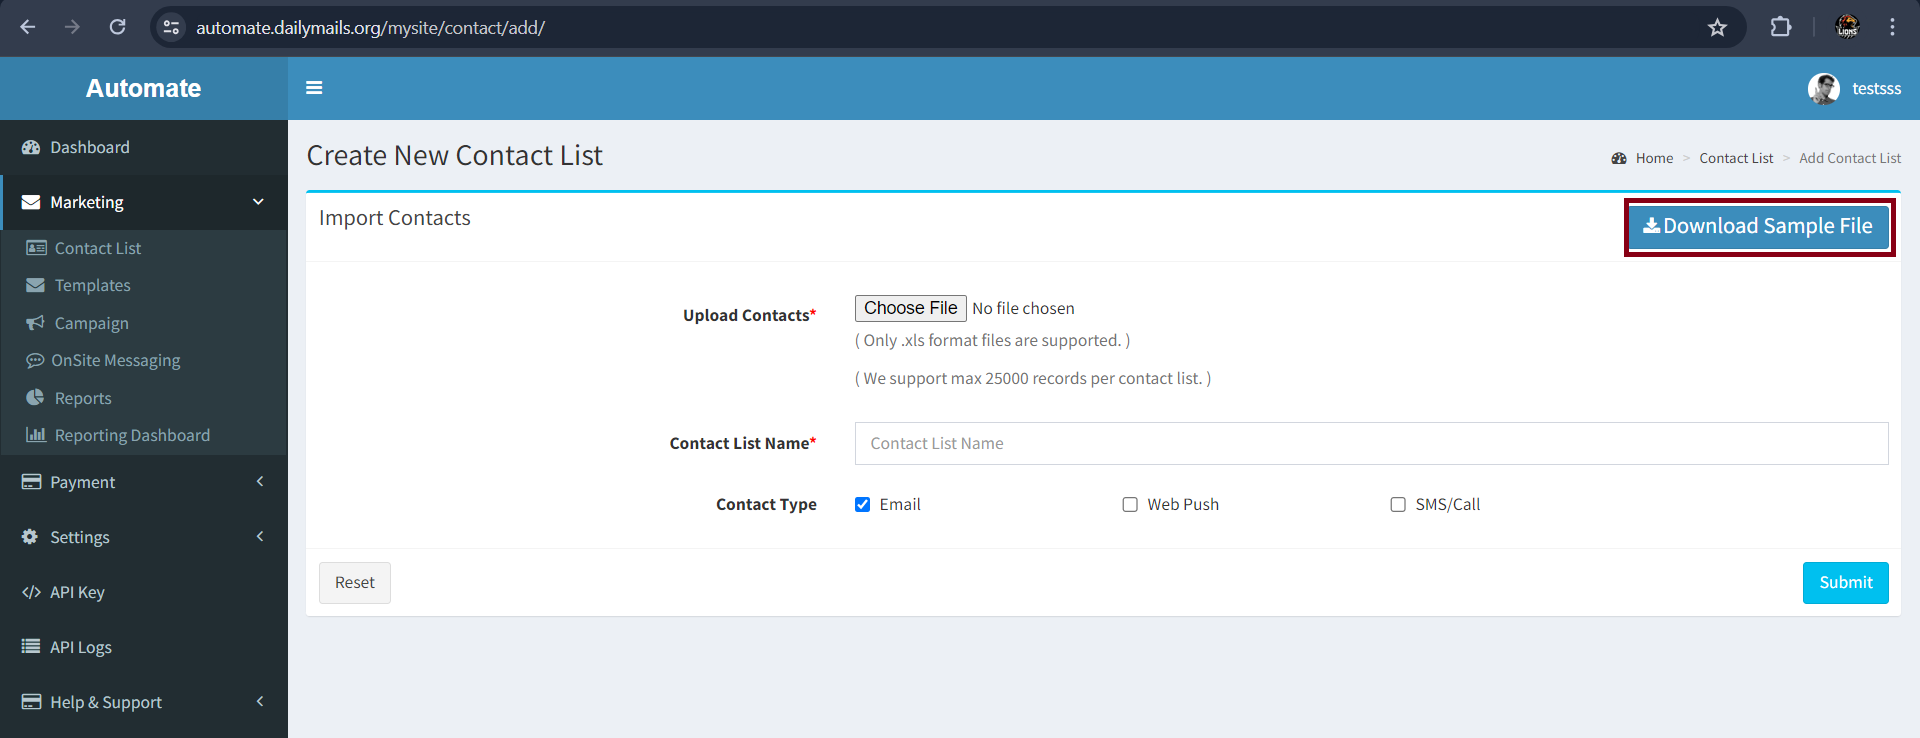
Fill your data in the Downloaded file
Fill the contact list form and click on submit button
Templates
Create Template
Goto Marketing → Templates → Select Add → <Type|email|sms|whatsapp|push|call> template
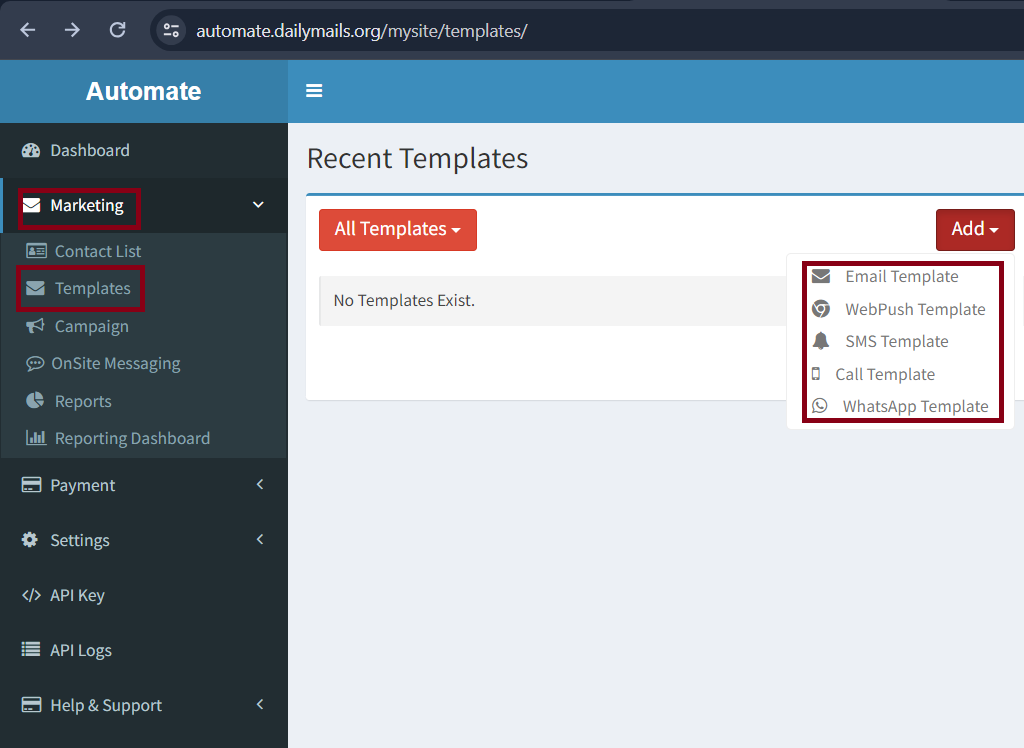
Fill details
Click on Submit Button
Essential Tags
Unsubscribe : {{ unsubscribe|safe }}
Personalization Tags
Mobile Number : {{ mobile }}
Customer Name : {{ username }}
Customer Email : {{ email }}
Campaign
Prerequisite
Create Single Campaign
Goto Marketing → Campaign
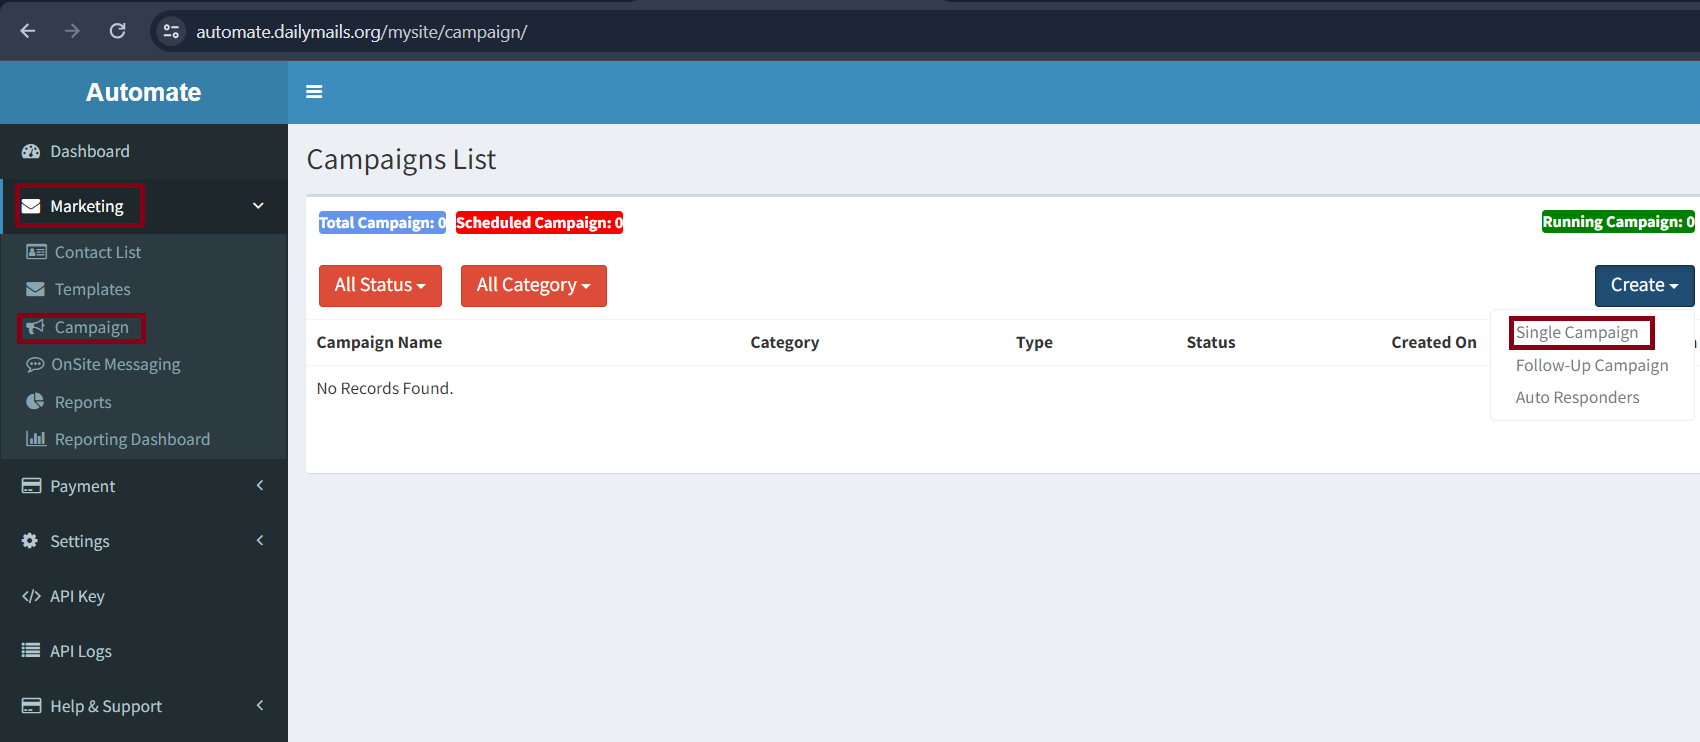
Select Create → Single Campaign
Fill the Campaign Form
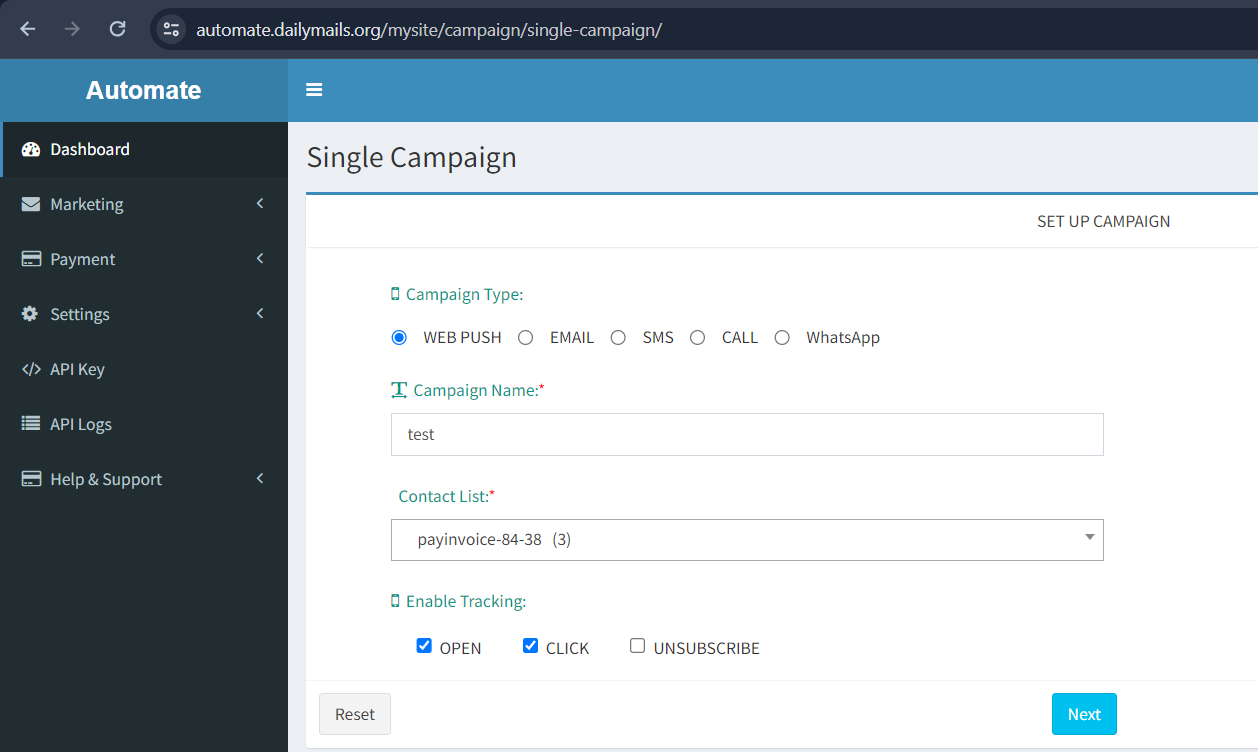
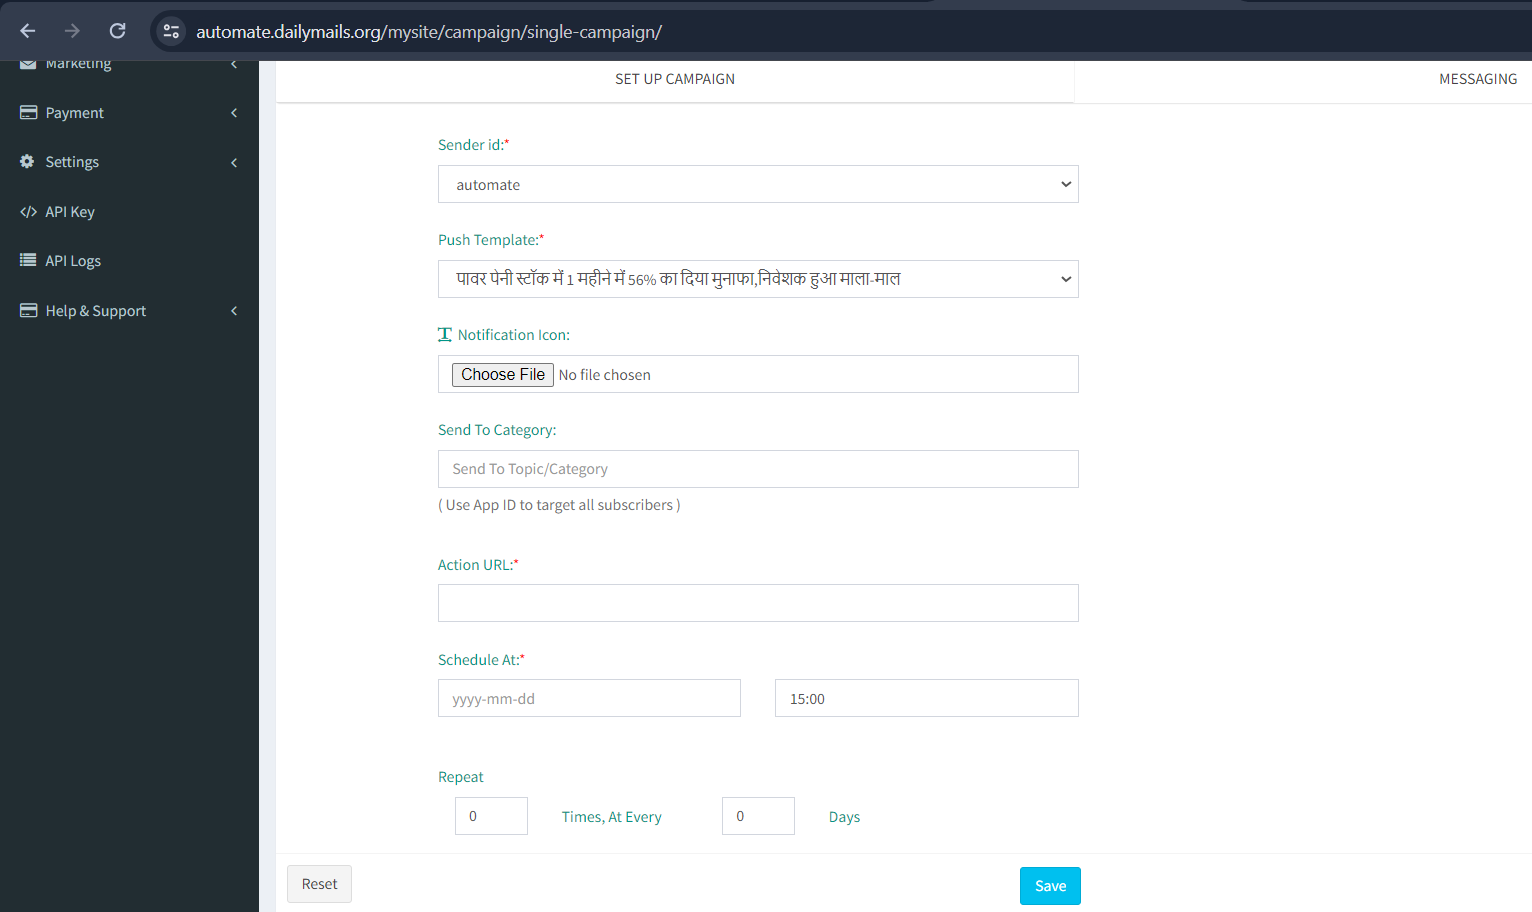
Click On Submit Button
Create Followup Campaign
Goto Marketing → Campaign
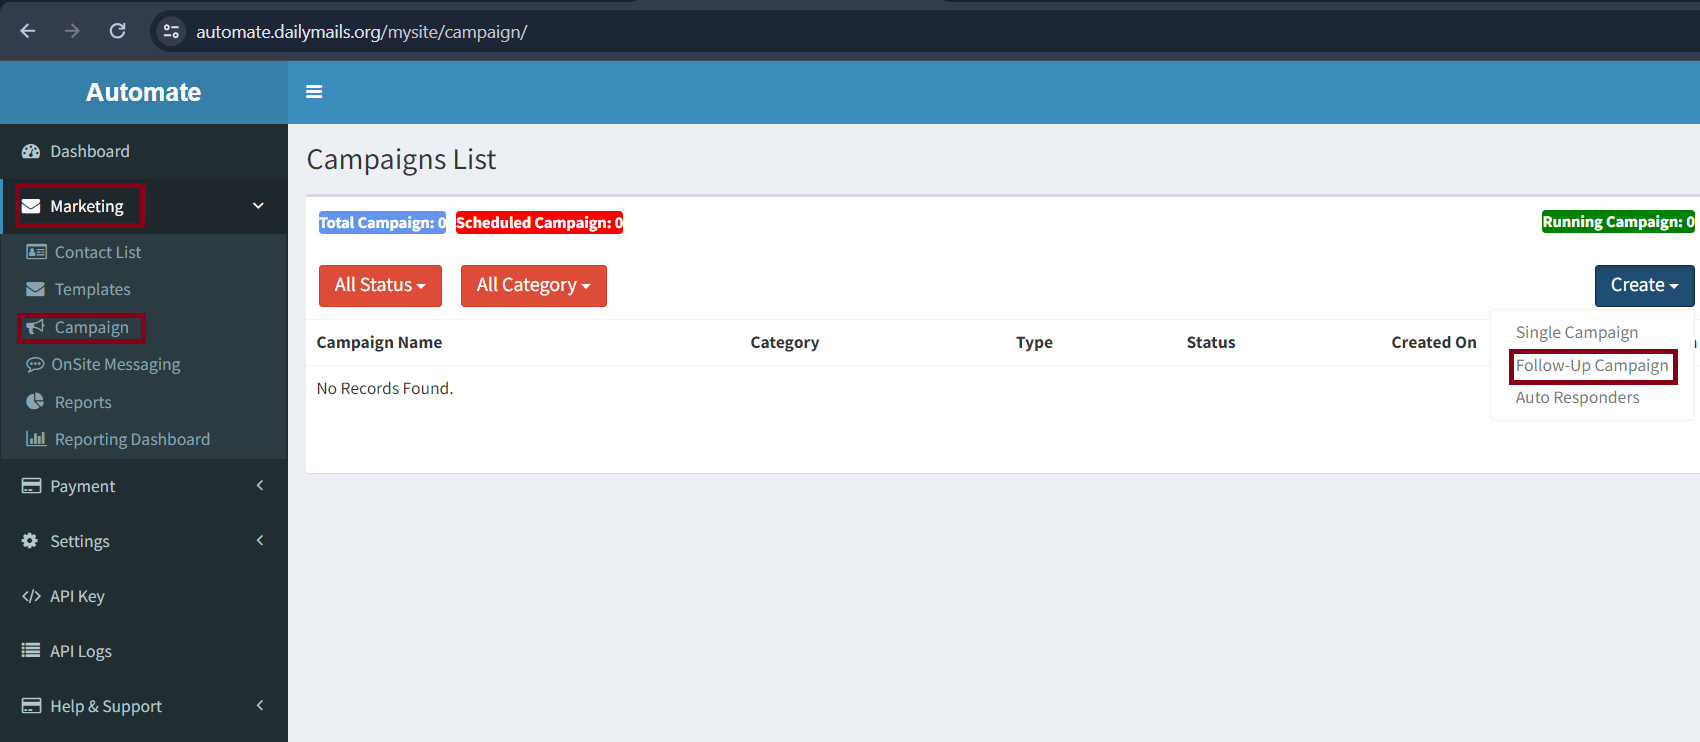
Select Create → Follow-UP Campaign
Fill the Campaign Form
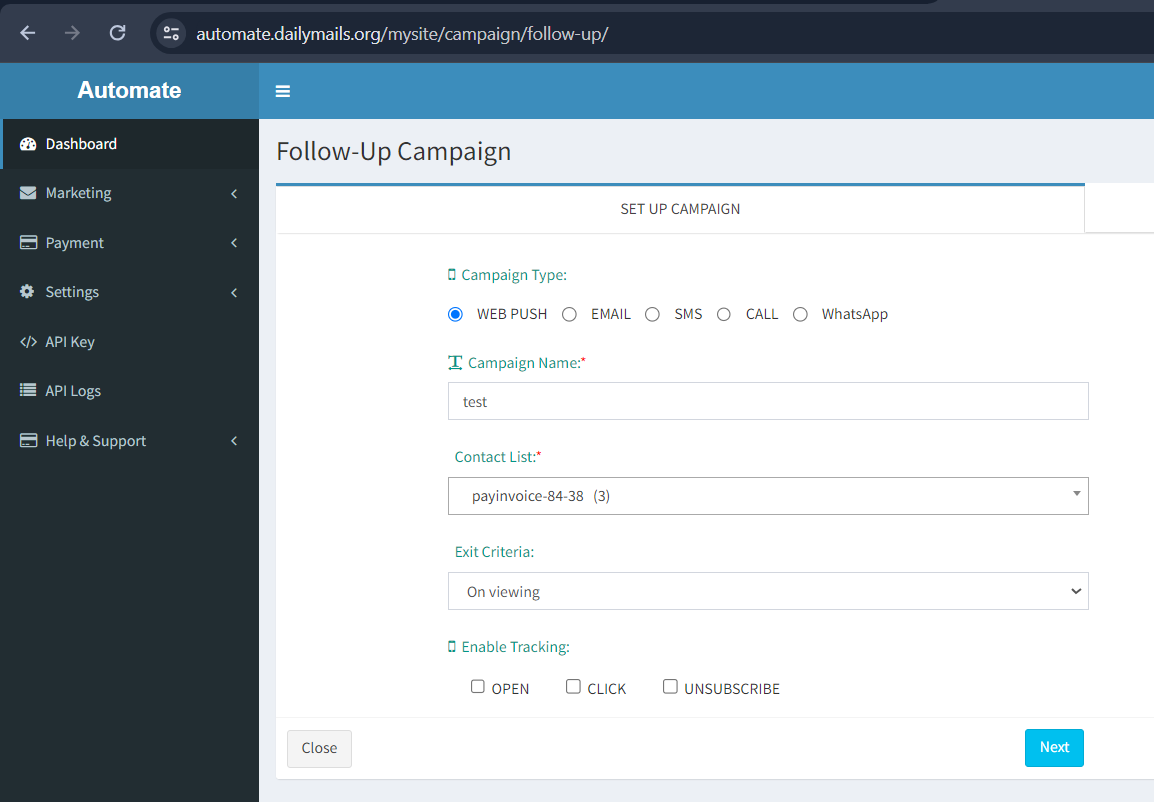
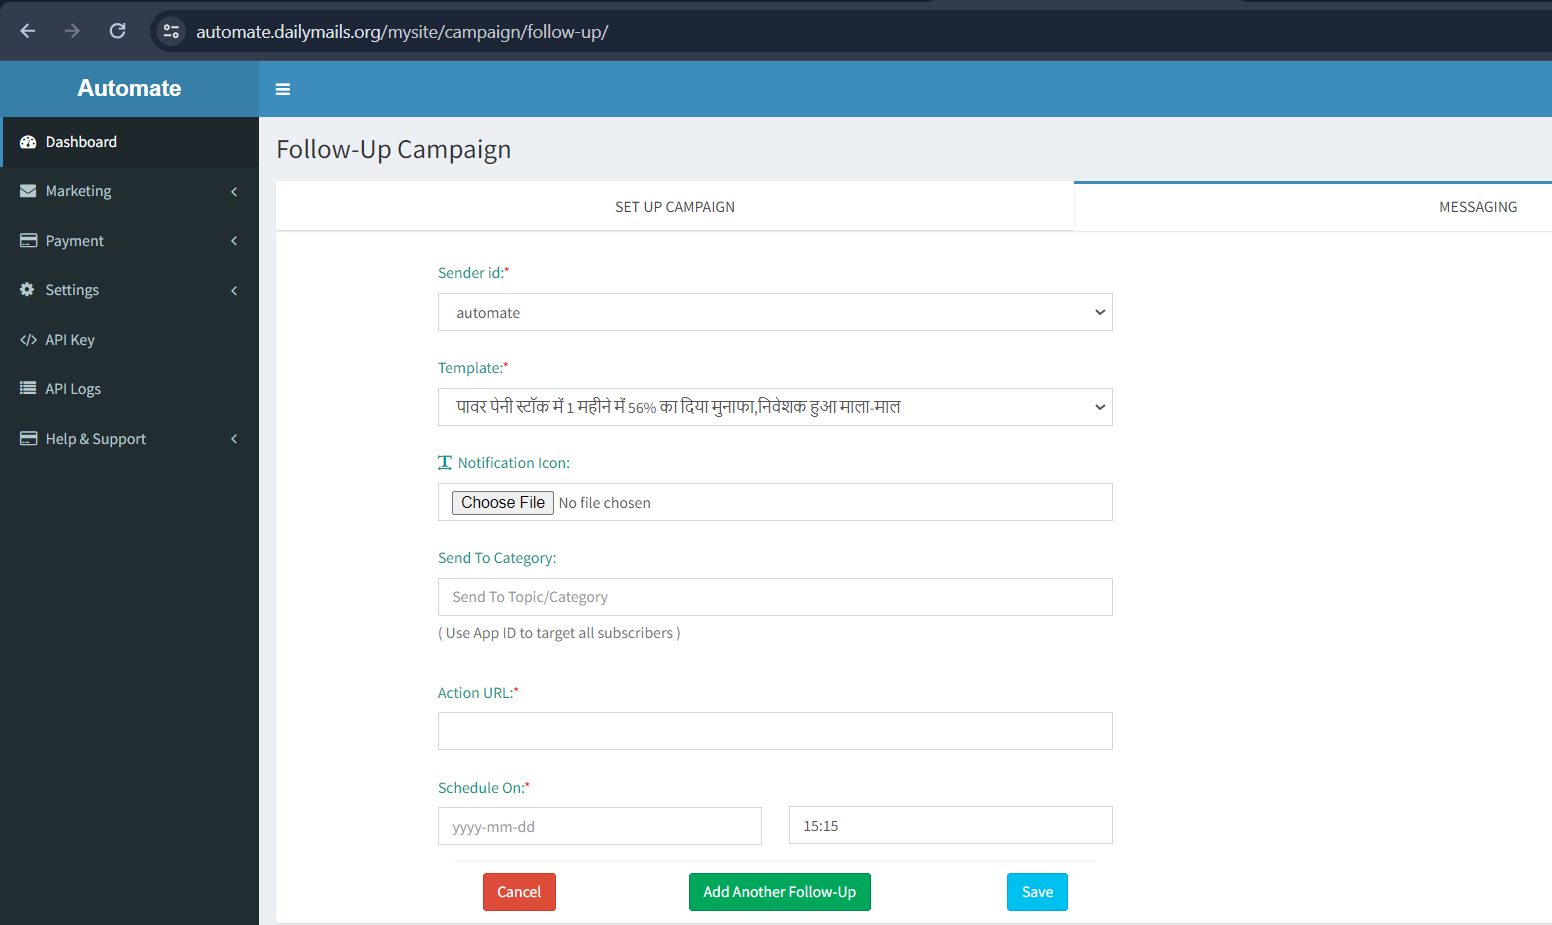
Click On Submit Button
Create AutoResponder Campaign
Goto Marketing → Campaign
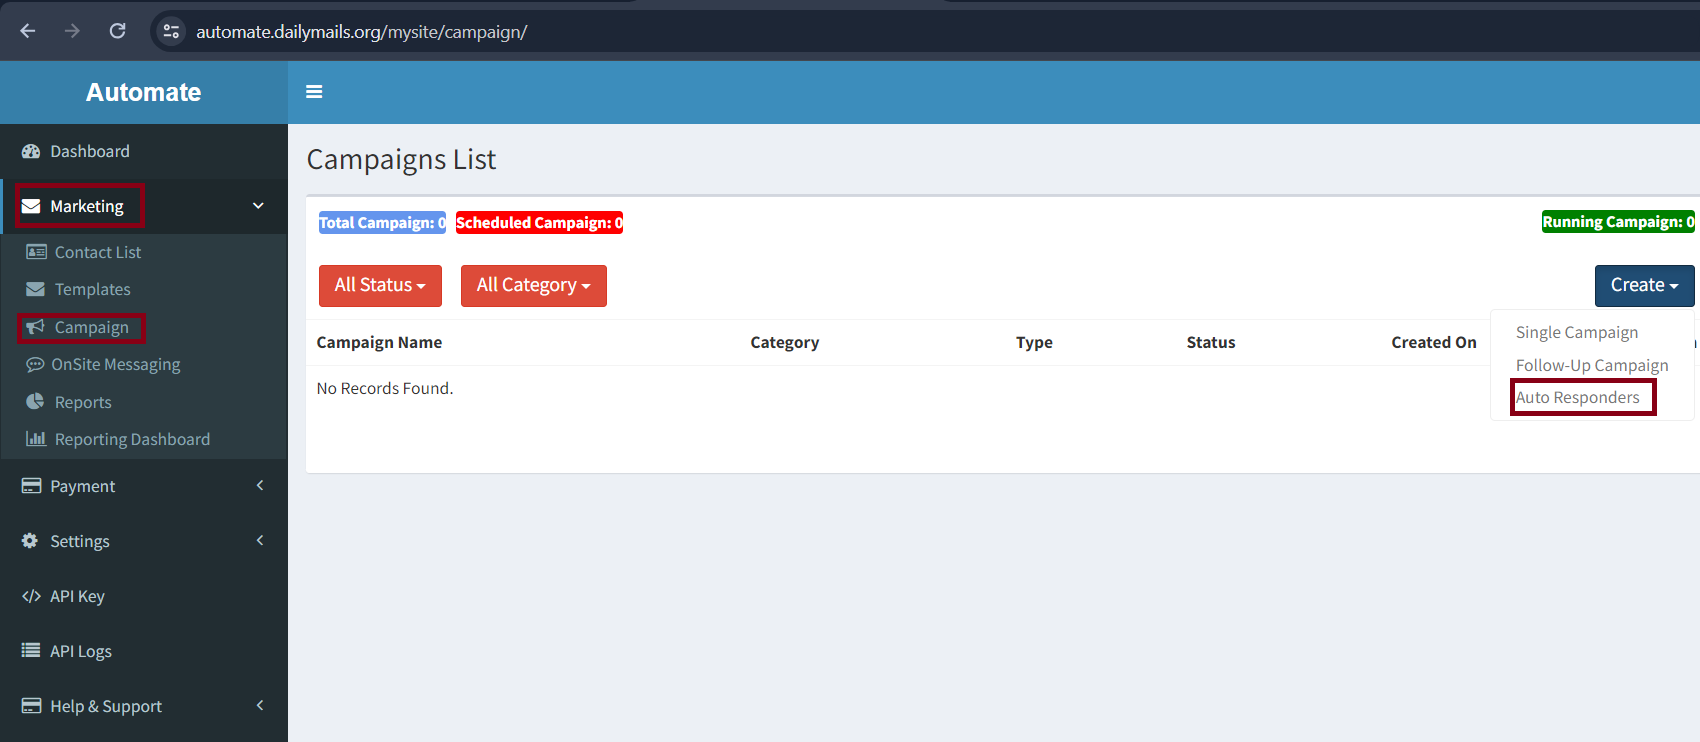
Select Create → AutoResponder Campaign
Fill the Campaign Form
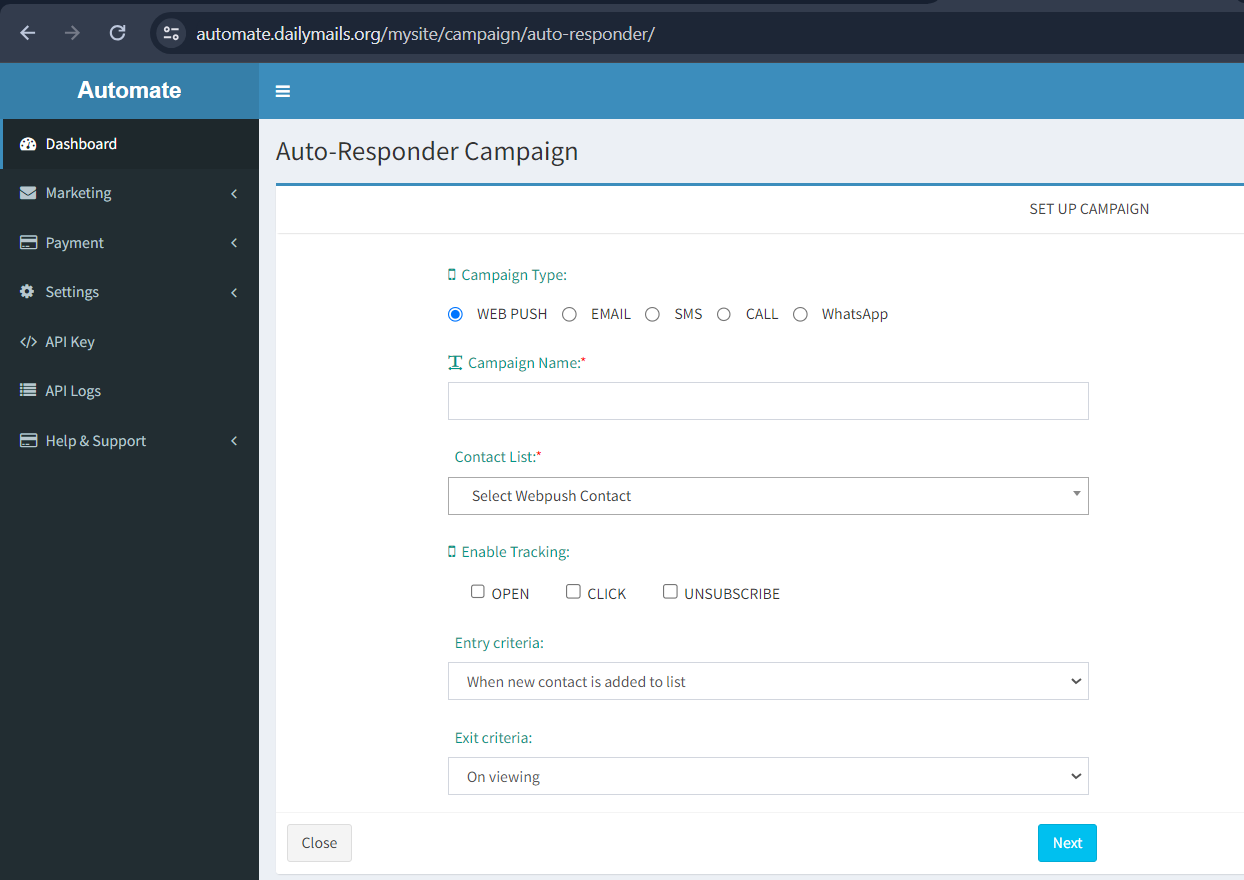
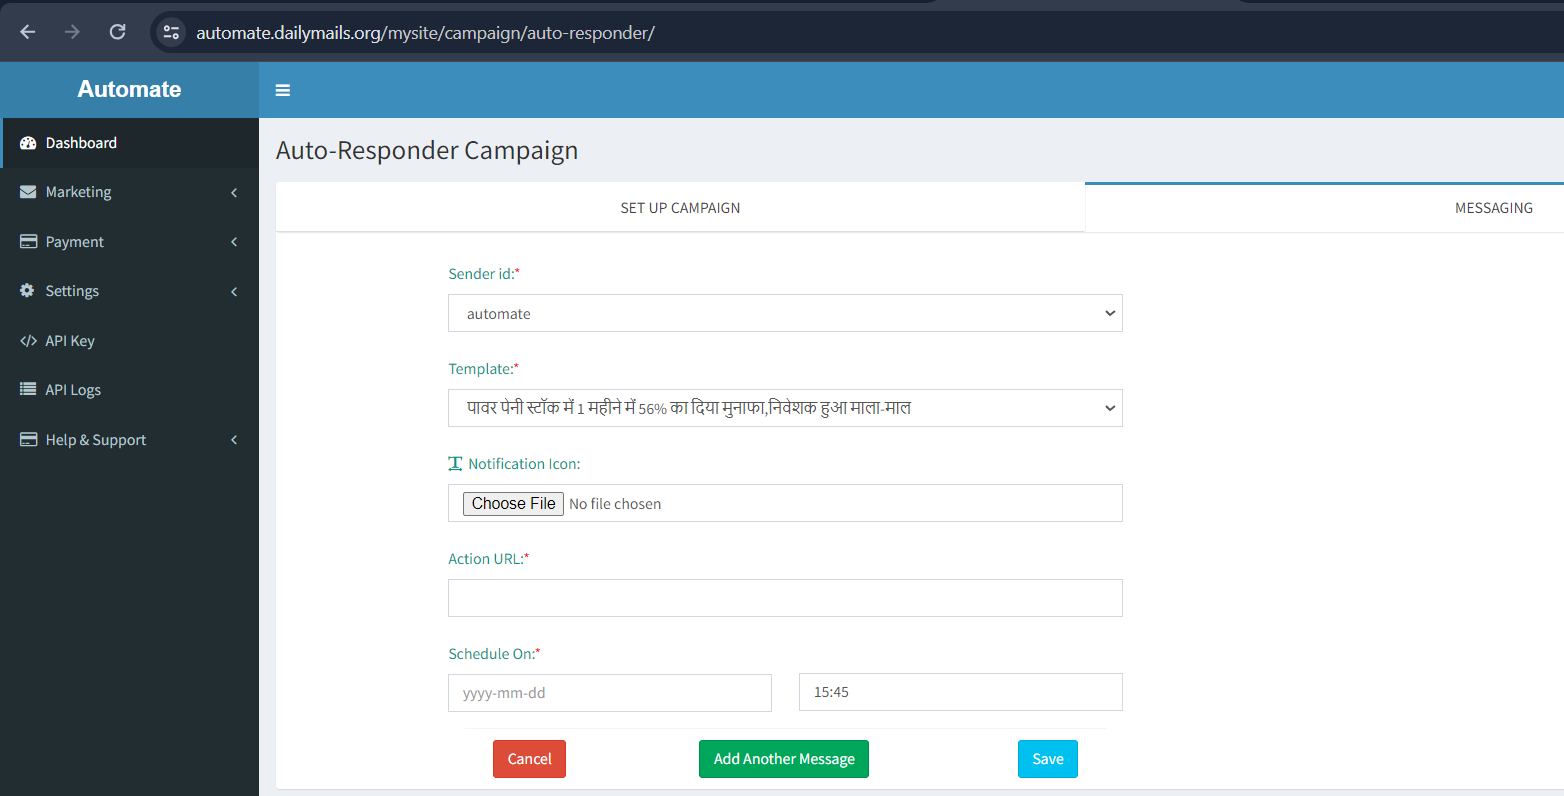
Click On Submit Button
Create Onsite Messaging
Goto Marketing → Onsite Messaging
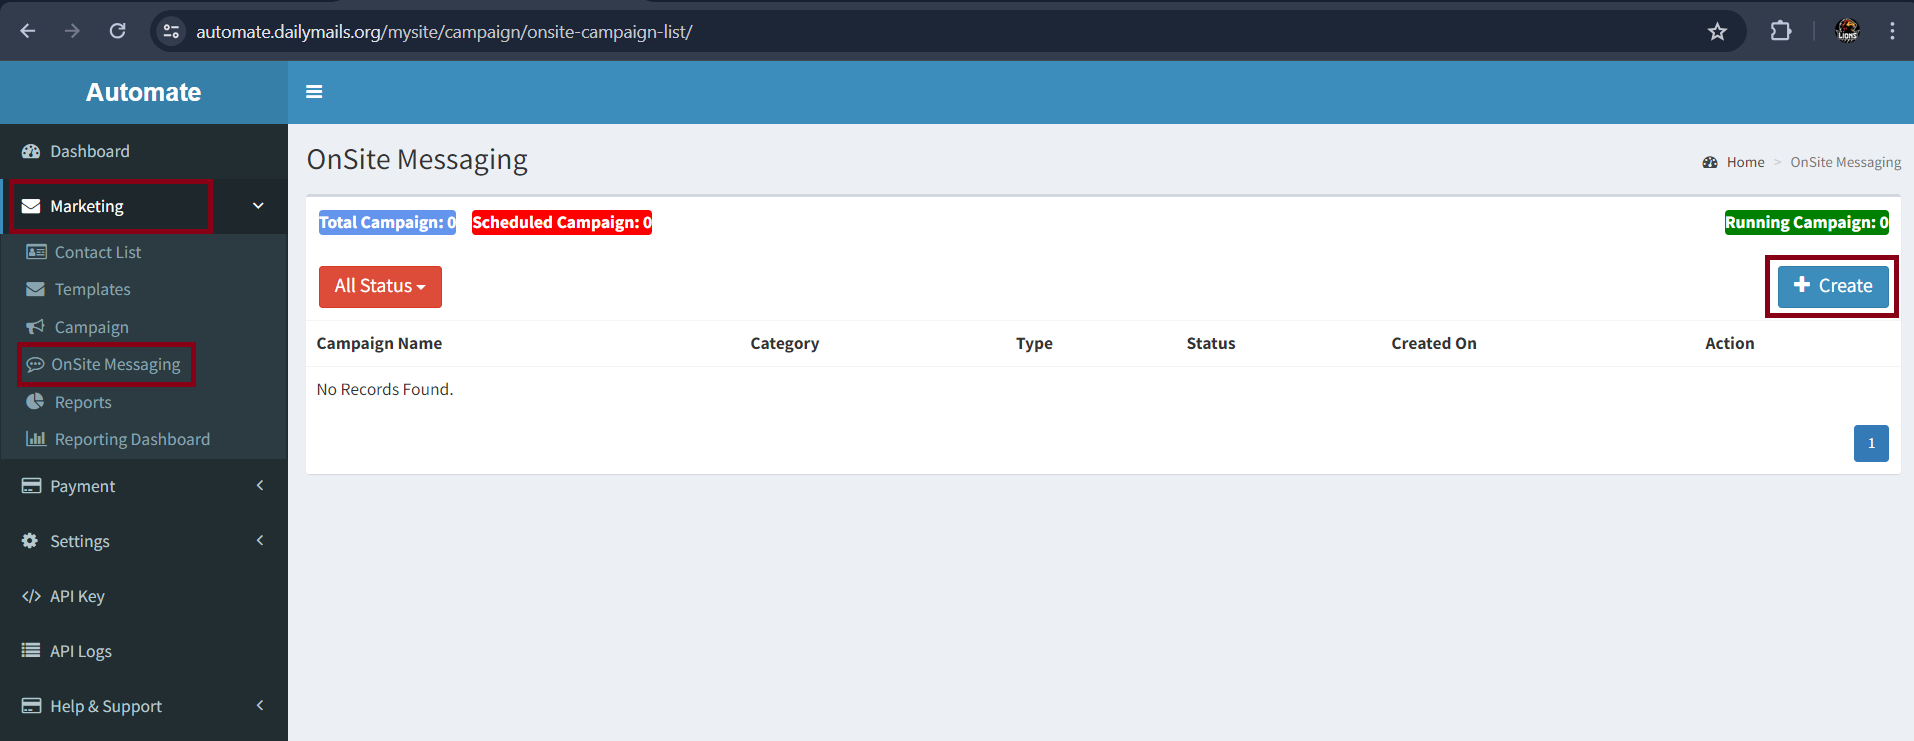
Click on Create Button
Fill All Details
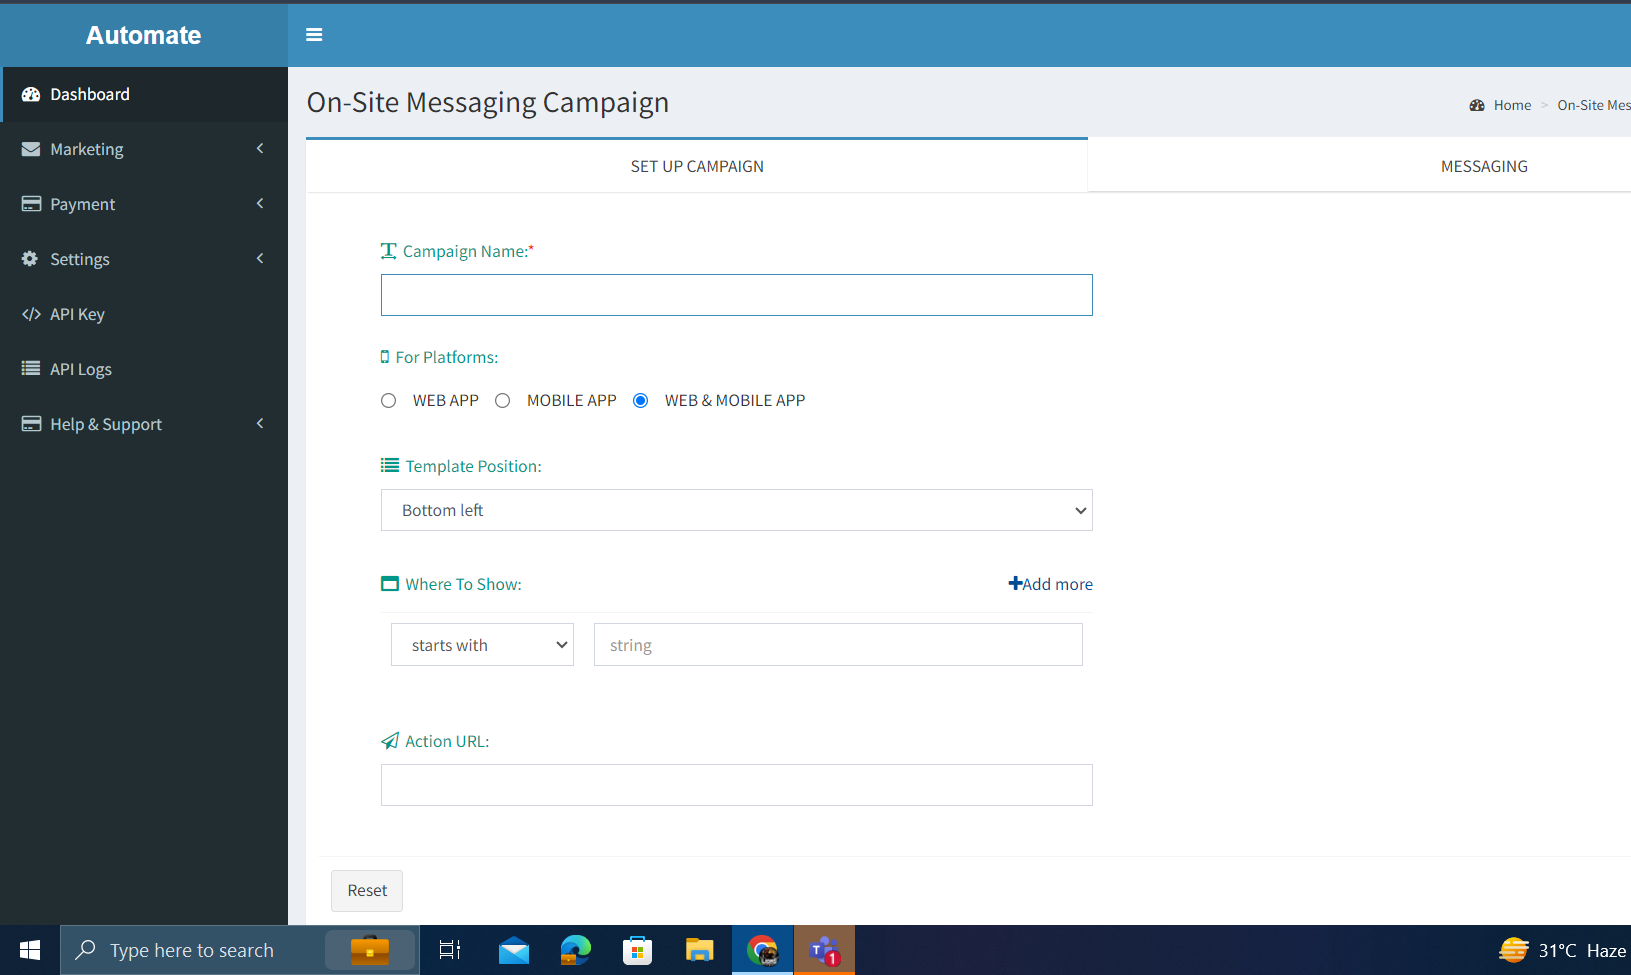
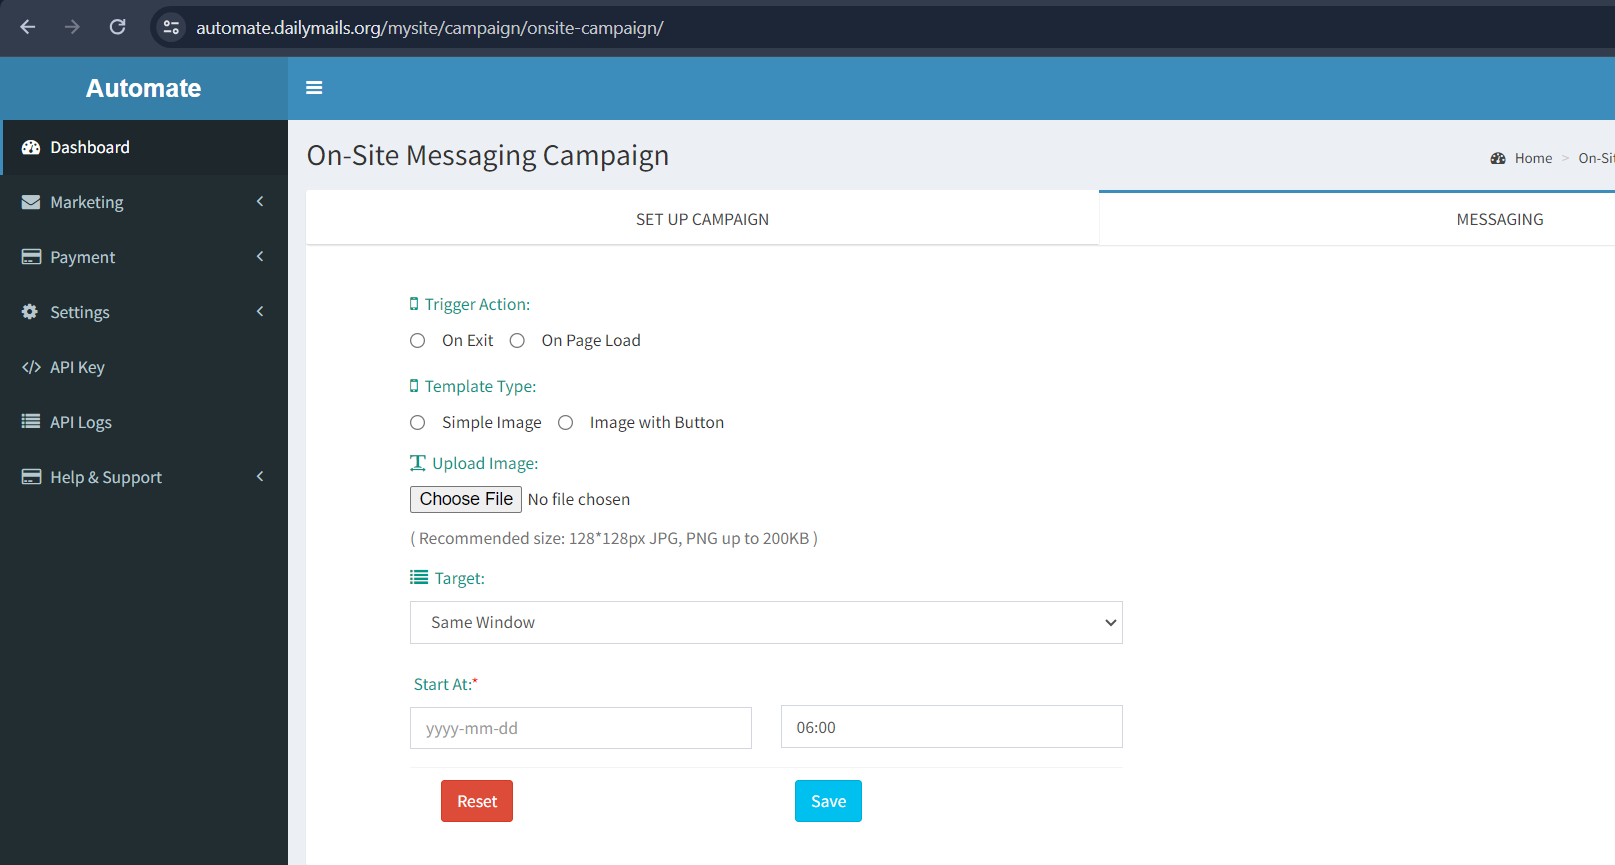
Click On Submit Button
Send For Review
Goto Marketing → Campaign → Select Action → View
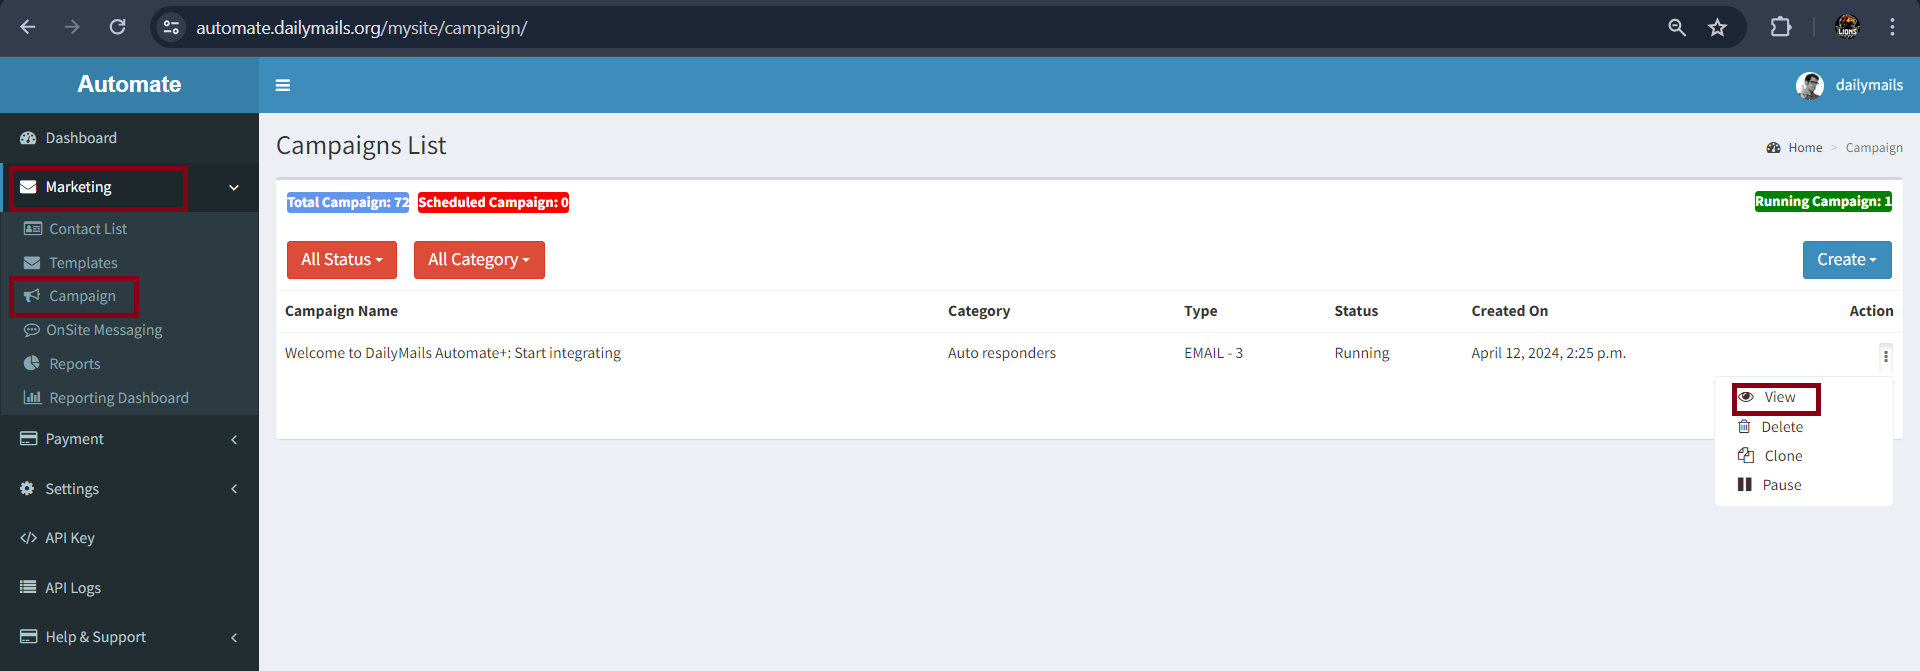
Click on Send For Review Button on Detail Page
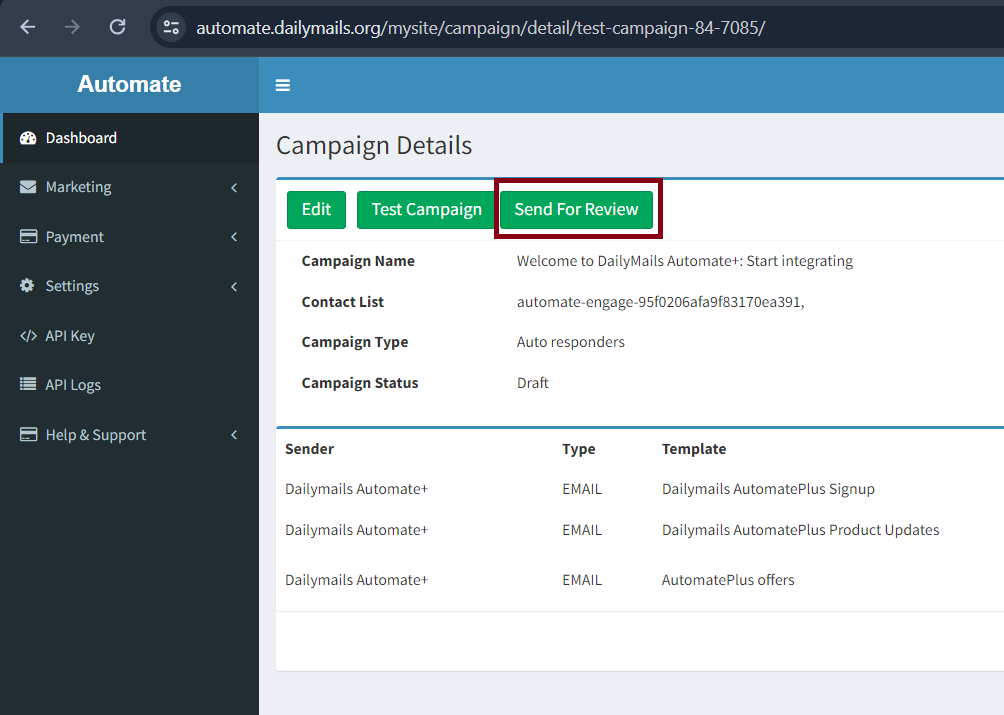
After Campaign Review, Your campaign will be send at scheduled time.